Set up your very own personal virtual private network using Pritunl with Evoxt with only a single click with our One-Click Installation Script.
Pritunl is an open-source Enterprise level VPN server that helps enterprises, businesses, and even individuals to protect and communicate with each other securely. Pritunl provides an easy-to-use and intuitive VPN server with advanced features, including organization grouping, multiple users, and network routing. Pritunl also runs on OpenVPN protocol, which is one of the most popular and trusted VPN protocols. By using OpenVPN protocol, Pritunl servers can be connected using OpenVPN clients, which is available on most devices, allowing Pritunl to be connected through all devices that OpenVPN supports even if the device is not supported by the Pritunl client.
Instruction
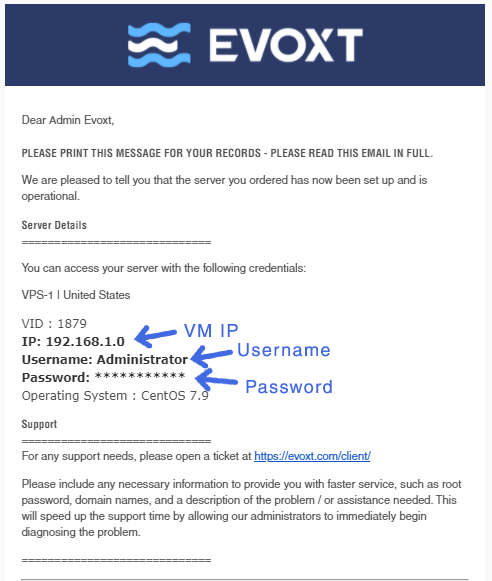
Check your email for your VM details. Your VM details are sent to your email inbox.
Check your junk/ spam mail just in case.
Did not receive it?
Contact us.
Installation
Head to https://YOUR_VM_IP
https://192.168.0.1
You will be greeted will an SSL insecure page, click ignore warnings to bypass the page.
Connect to your server through SSH,
click here if you require a guide
Run
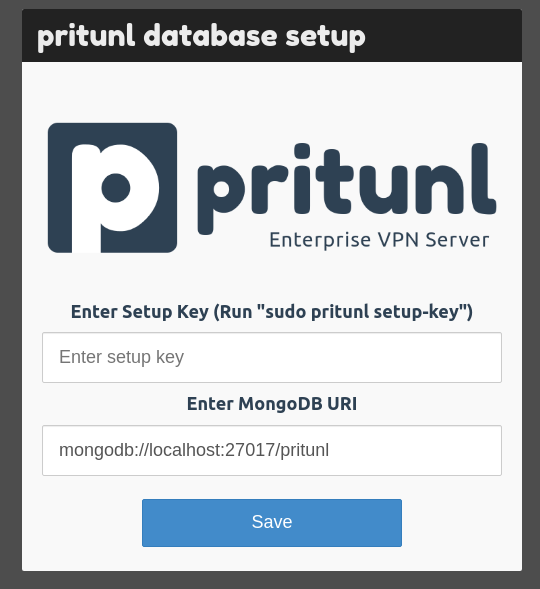
sudo pritunl setup-key to get the setup key to proceed with Pritunl server setup.
sudo pritunl setup-key
[root@pritunl ~]# sudo pritunl setup-key
cf46724ef9a846aeb82139da1e42b17d
Paste the setup keys in the setup key field and click save.
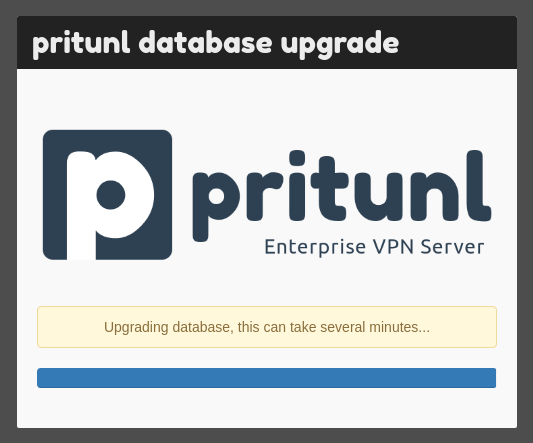
You will then be brought to this screen.
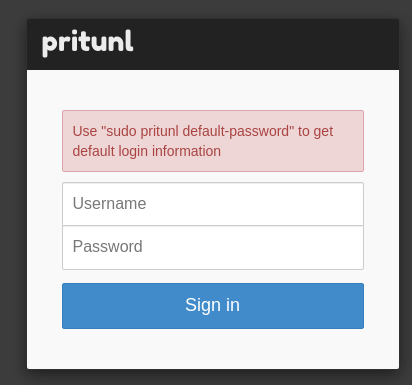
Pritunl require you to get the default password through SSH, to get the default password, use the following command.
sudo pritunl default-password
[root@pritunl ~]# sudo pritunl default-password
[undefined][2021-12-31 15:26:54,605][INFO] Getting default administrator passwordAdministrator default password:
username: "pritunl"
password: "eSWKzNtIgqpu"
[root@pritunl ~]#
Then, log in with the username and password provided.
You will be prompted with the Initial Setup screen.
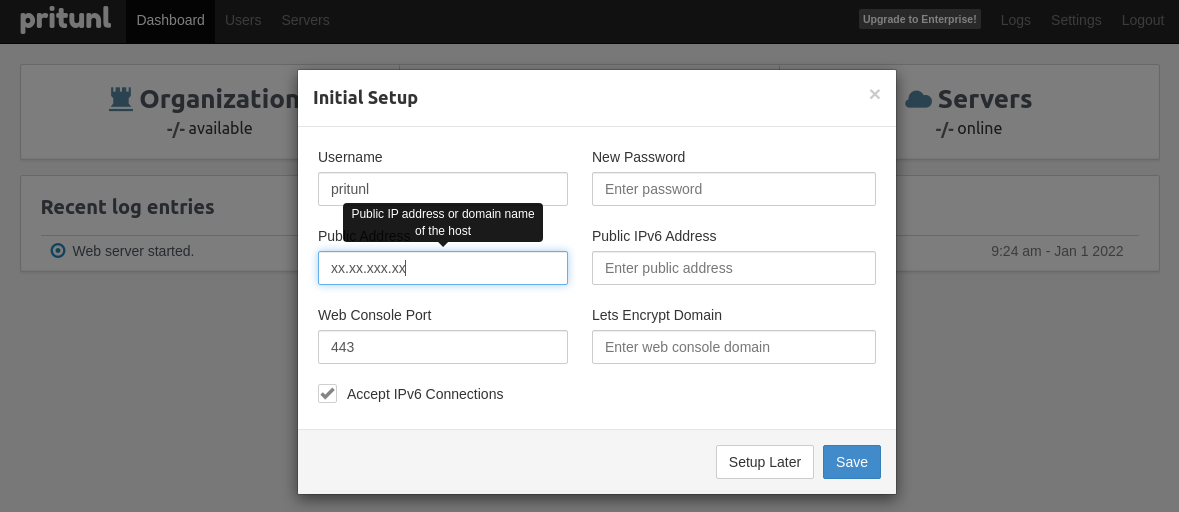
Key in a New Password in order to change the Pritunl default password and key in Lets Encrypt Domain if you want to access your Pritunl dashboard through a domain name.
VPN Server Setup
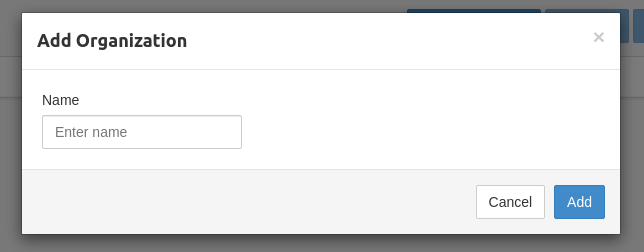
To get a VPN setup with Pritunl, you will have to create an organization first. Go to the Users tab and click on Add Organization. Name the organization.
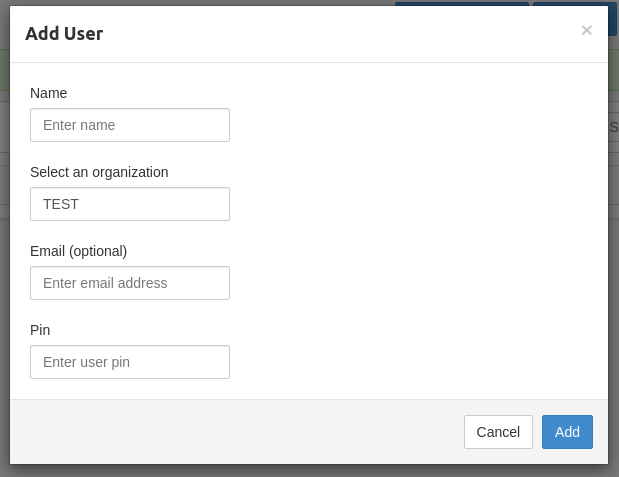
Then, create a user profile. Click on add user to proceed.
Once a user profile is set up, you will have to create a server.
Go to the Servers tab, click on Add Server.
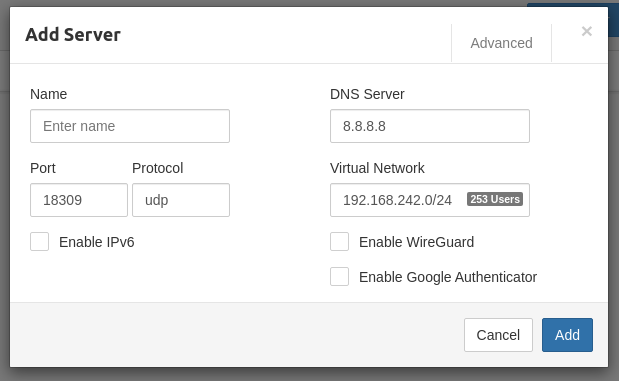
Name the server. The default configurations for other fields should be sufficient, click Add to create the server.
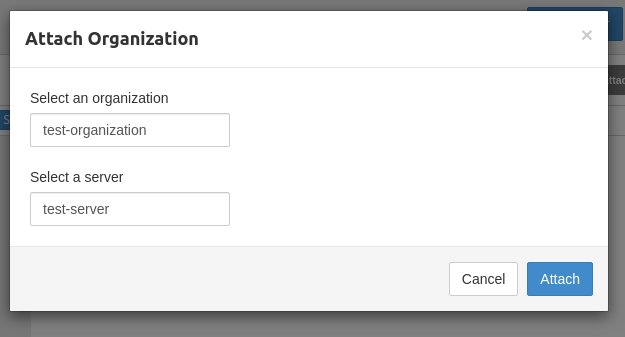
Once the server is created, click Attach Organization to add the organization and users to this server.
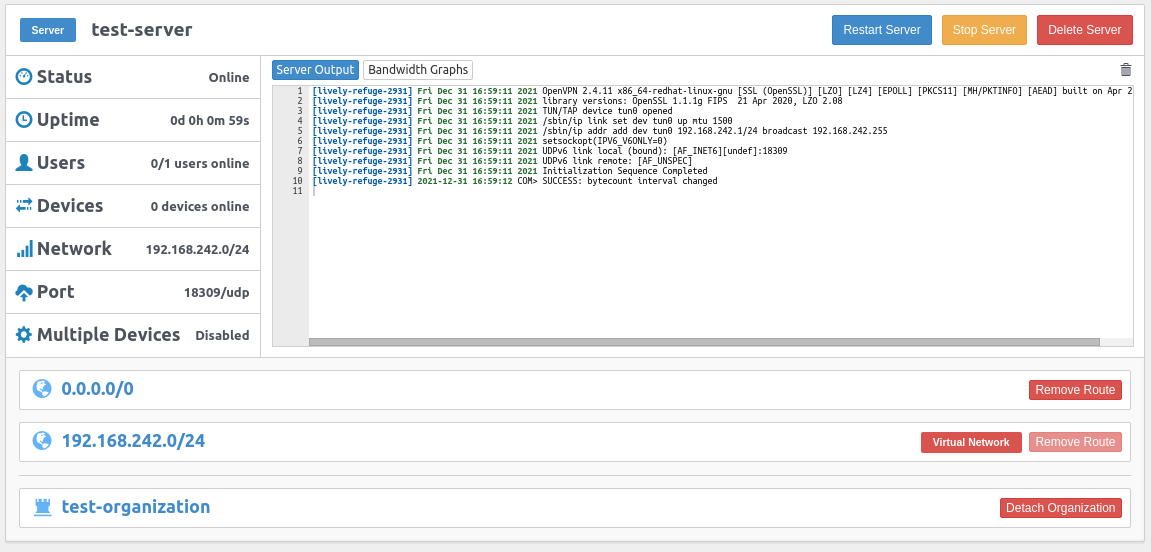
Start the server. Your VPN server is now online and ready to be connected.
Connect to your VPN server
1st Option
To connect to your VPN server, you can use Pritunl's VPN Client.
Here is the
download page.
After installing, the easiest way to connect is to use the
Get temporary profile links option.
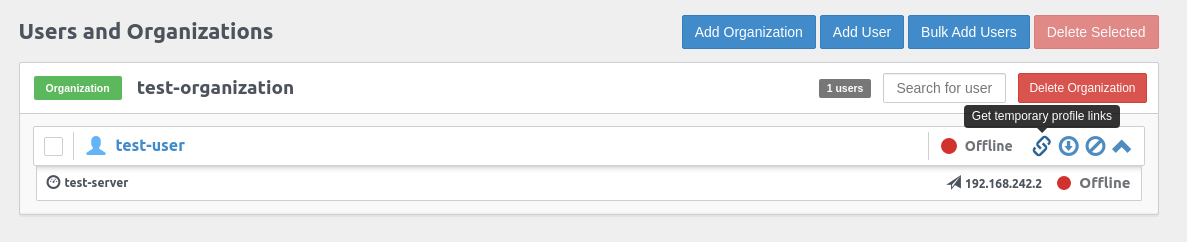
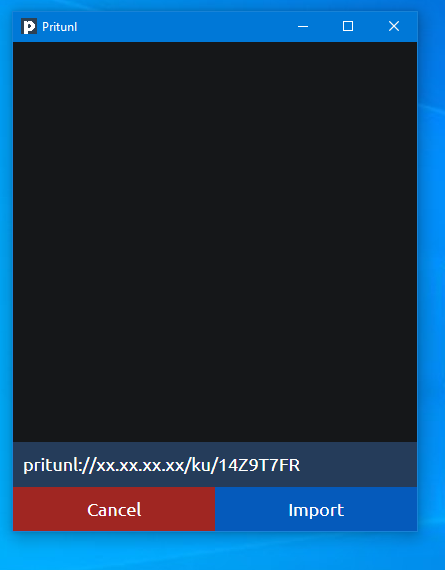
Copy the Temporary uri link for Pritunl Client and paste it in your Pritunl Client by clicking Import Profile URI.
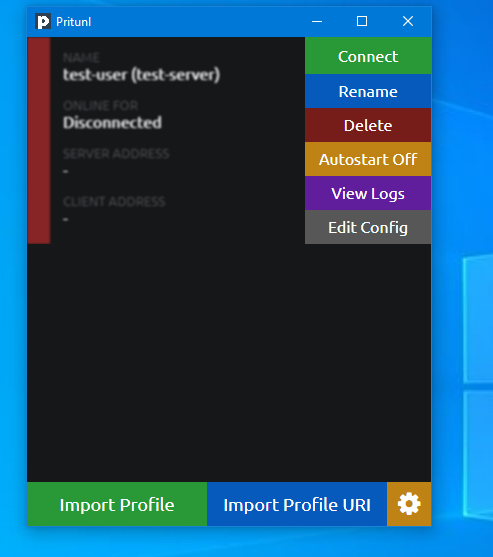
Click on the burger bar on the top right and click
Connect to to connect to your VPN server.
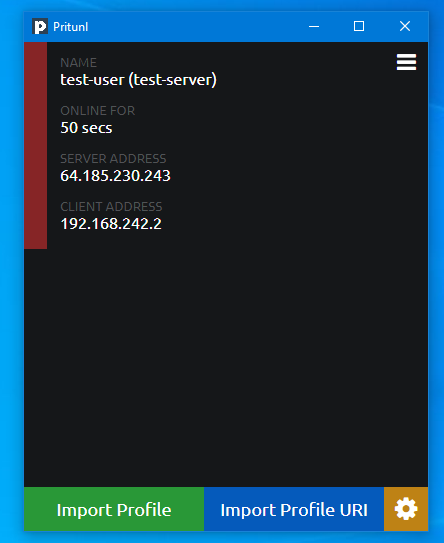
You are now connected to your VPN server.
2nd Option
Download OpenVPN client on
OpenVPN client's download page. Install OpenVPN client.
For OpenVPN client, because this is not Pritunl's Client, the URI will not work, you will have to use the download profile option in order to connect to your Pritunl server.

Once the profile is downloaded, extract the .tar file.
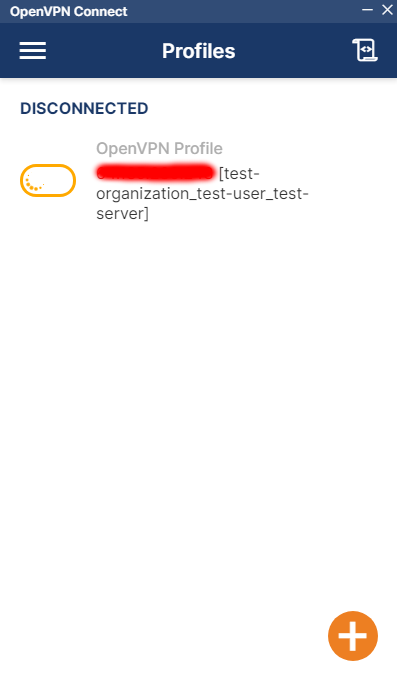
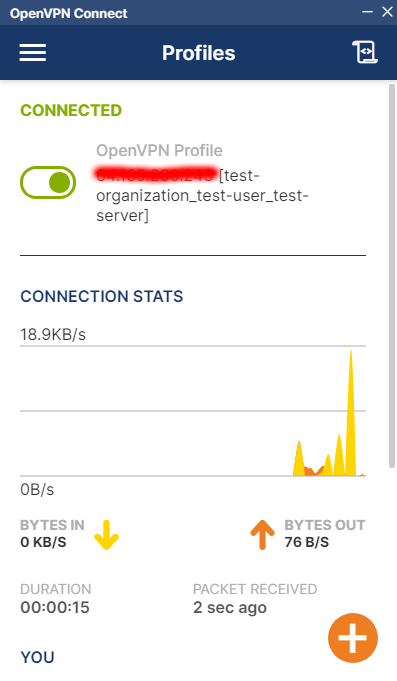
Then, drag the OVPN file extracted to your OpenVPN client as shown below.
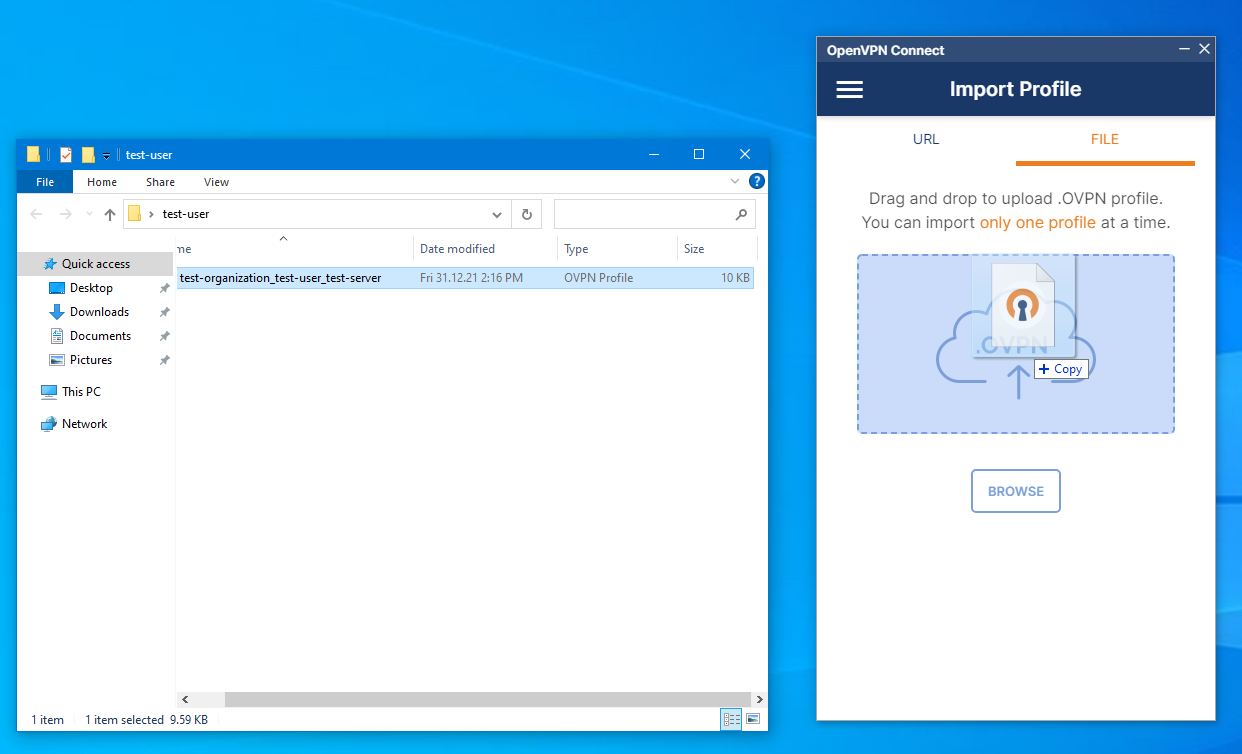
Once the profile is imported. Click on the connect button and you are now connected to your VPN server.
 Deploy your own personal VPN server with just a single click!