Nextcloud is an open-source platform for private file sharing and self-hosted cloud storage. This guide explains how to install and configure Nextcloud on AlmaLinux 9.4 using an Evoxt VPS.
Why Install Nextcloud on Evoxt VPS?
-
- Private & Secure Cloud: Full control over your data.
- High Performance: Fast and reliable cloud storage with Evoxt infrastructure.
- Flexible Access: Connect via browser, mobile app, or desktop sync clients.
Step 1: Update AlmaLinux
sudo dnf update -y
sudo dnf install epel-release -y
Step 2: Install Apache, MariaDB, and PHP
Install Apache:
sudo dnf install httpd -y
sudo systemctl enable --now httpd
Install MariaDB:
sudo dnf install mariadb-server -y
sudo systemctl enable --now mariadb
Secure MariaDB:
sudo mysql_secure_installation
Set the root password and remove insecure defaults.
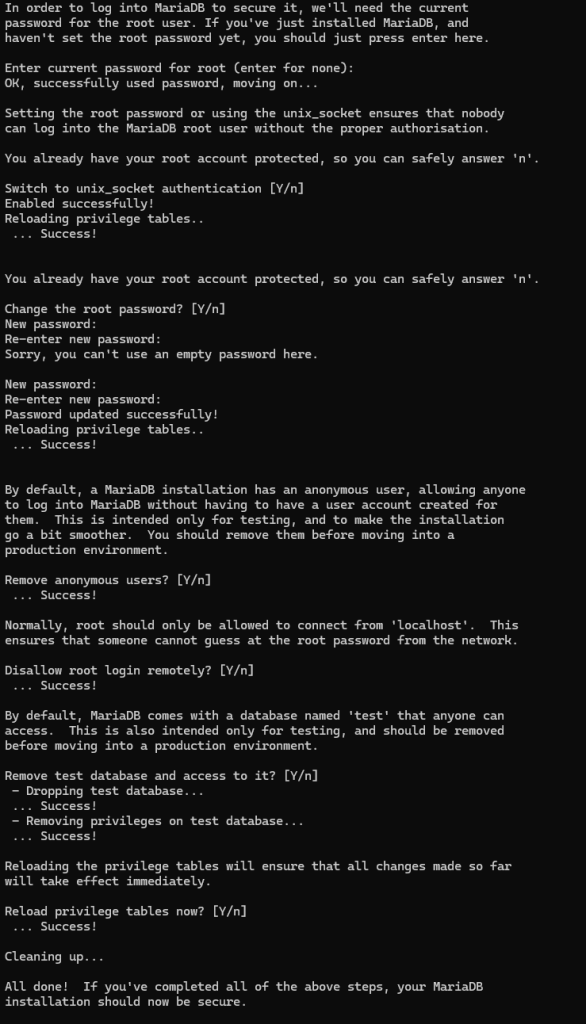
Or use this automated script:
sudo dnf install expect -y
mkdir -p /root/scripts
cat << 'EOF' > /root/scripts/secure_mysql.expect
#!/usr/bin/expect -f

set timeout 10
spawn mysql_secure_installation
expect "Enter password for user root:" { send "\r" }
expect "Switch to unix_socket authentication" { send "n\r" }
expect "Change the root password?" { send "n\r" }
expect "Remove anonymous users?" { send "y\r" }
expect "Disallow root login remotely?" { send "y\r" }
expect "Remove test database and access to it?" { send "y\r" }
expect "Reload privilege tables now?" { send "y\r" }
expect eof
EOF

chmod +x /root/scripts/secure_mysql.expect
/root/scripts/secure_mysql.expect
Install PHP 8.2 and Extensions:
sudo dnf module reset php -y
sudo dnf module enable php:8.2 -y
sudo dnf install php php-mysqlnd php-gd php-xml php-mbstring php-curl php-zip php-cli php-bcmath php-intl php-json php-common php-opcache -y
sudo systemctl restart httpd
php -v
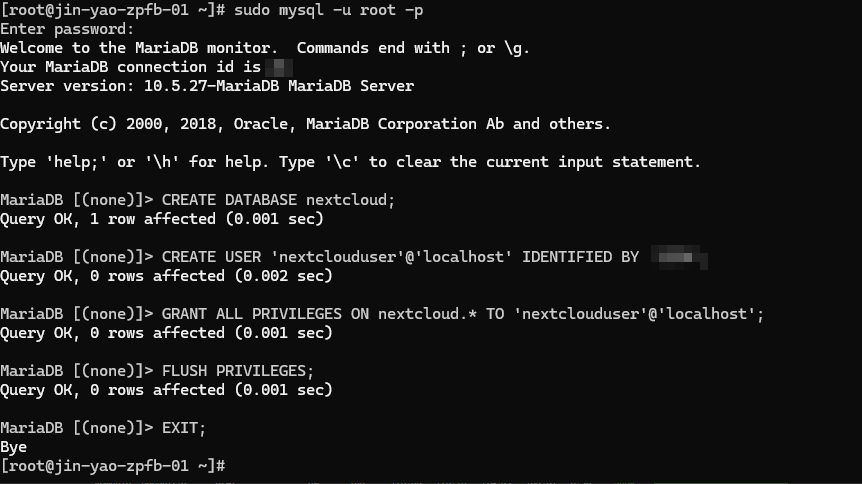
Step 3: Create a Database for Nextcloud
sudo mysql -u root -p
CREATE DATABASE nextcloud;
CREATE USER 'nextclouduser'@'localhost' IDENTIFIED BY 'StrongPassword123';
GRANT ALL PRIVILEGES ON nextcloud.* TO 'nextclouduser'@'localhost';
FLUSH PRIVILEGES;
EXIT;
Step 4: Download and Configure Nextcloud
cd /var/www/
sudo curl -O https://download.nextcloud.com/server/releases/nextcloud-31.0.4.zip
sudo unzip nextcloud-31.0.4.zip
sudo chown -R apache:apache nextcloud
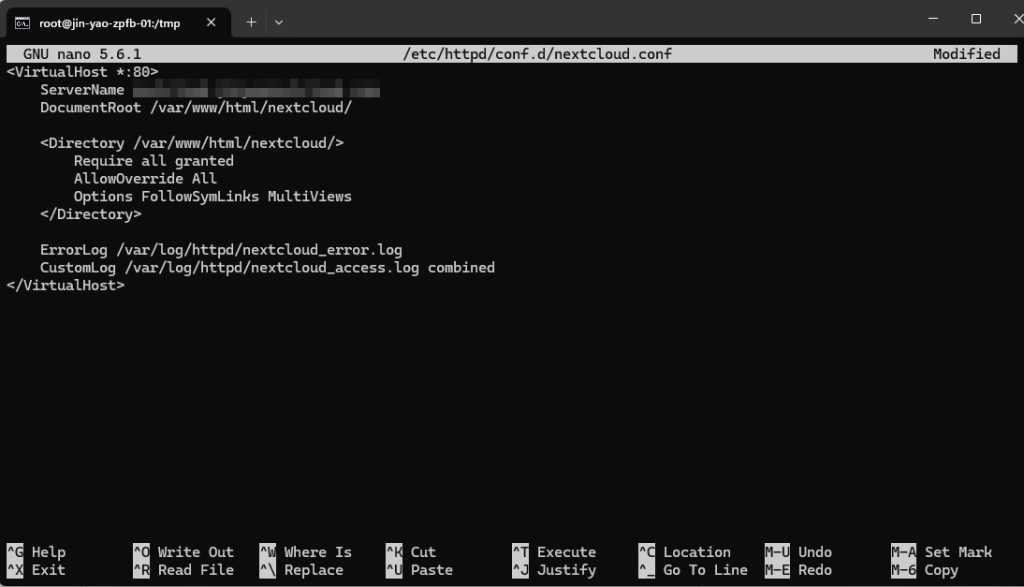
Step 5: Configure Apache
sudo nano /etc/httpd/conf.d/nextcloud.conf
<VirtualHost *:80>
    ServerName yourdomain.com
    DocumentRoot /var/www/nextcloud/
    <Directory /var/www/html/nextcloud/>
        Require all granted
        AllowOverride All
        Options FollowSymLinks MultiViews
    </Directory>
    ErrorLog /var/log/httpd/nextcloud_error.log
    CustomLog /var/log/httpd/nextcloud_access.log combined
</VirtualHost>
sudo systemctl restart httpd
Step 6: Enable Firewall
sudo firewall-cmd --permanent --add-service=http
sudo firewall-cmd --permanent --add-service=https
sudo firewall-cmd --reload
If firewall is not installed:
sudo dnf install firewalld -y
sudo systemctl start firewalld
sudo systemctl enable firewalld
Step 7: Enable HTTPS (Optional but Recommended)
sudo dnf install certbot python3-certbot-apache -y
sudo certbot --apache -d yourdomain.com
Step 8: Finish Installation in Web Browser
Go to:
http://yourdomain.comhttp://your-server-ip/nextcloud
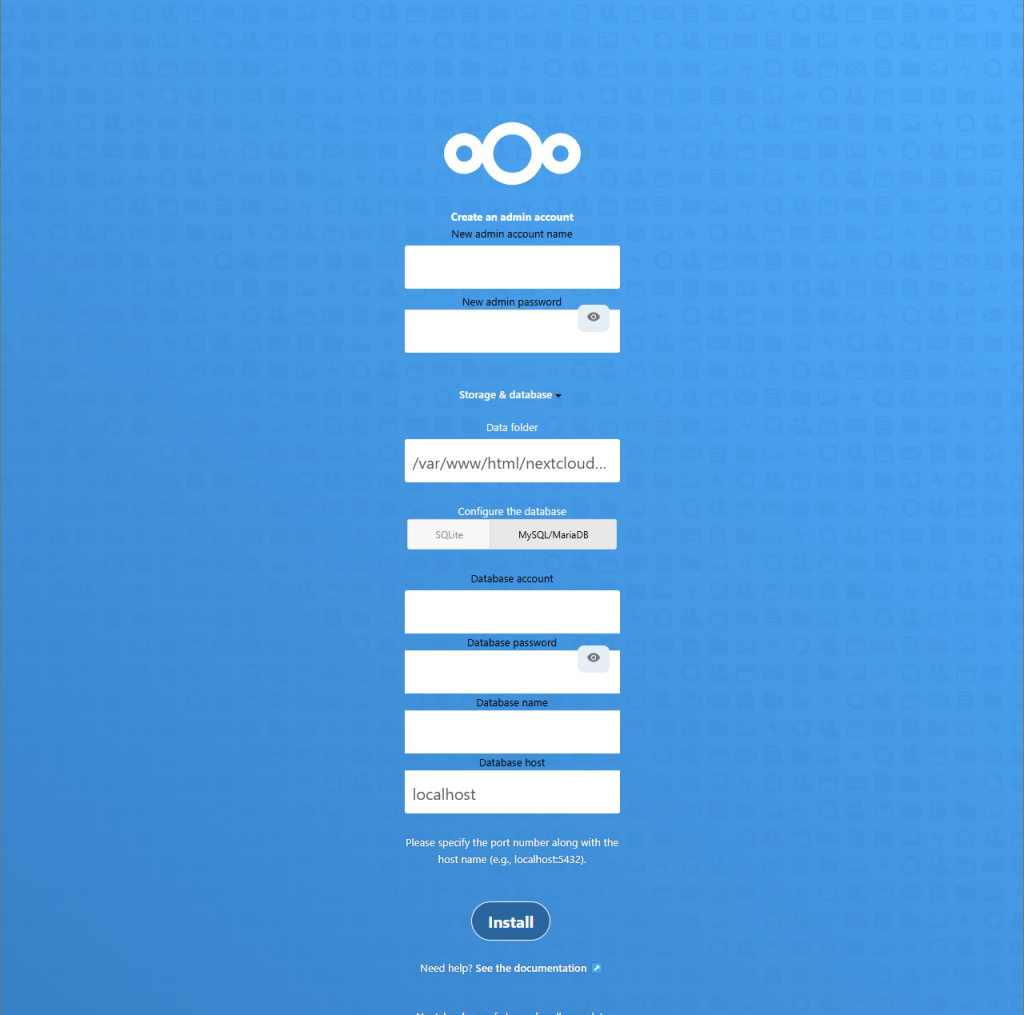
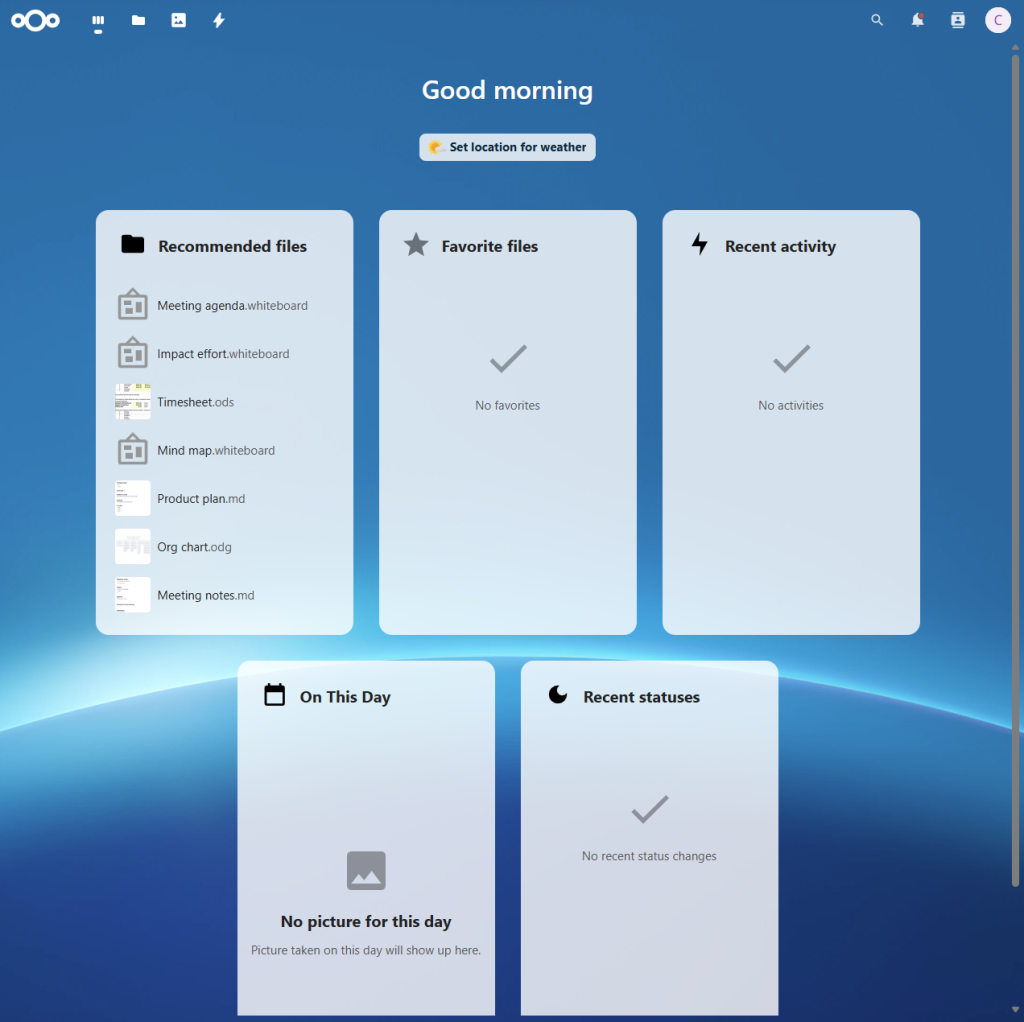
Then follow the setup wizard to create an admin account and connect to your database.
Quick Commands
sudo dnf update -y
sudo dnf install epel-release -y
sudo dnf install httpd -y
sudo systemctl enable --now httpd
sudo dnf install mariadb-server -y
sudo systemctl enable --now mariadb
sudo dnf install expect -y
mkdir -p /root/scripts
cat << 'EOF' > /root/scripts/secure_mysql.expect
#!/usr/bin/expect -f
set timeout 10
spawn mysql_secure_installation
expect "Enter password for user root:" { send "\r" }
expect "Switch to unix_socket authentication" { send "n\r" }
expect "Change the root password?" { send "n\r" }
expect "Remove anonymous users?" { send "y\r" }
expect "Disallow root login remotely?" { send "y\r" }
expect "Remove test database and access to it?" { send "y\r" }
expect "Reload privilege tables now?" { send "y\r" }
expect eof
EOF
chmod +x /root/scripts/secure_mysql.expect
/root/scripts/secure_mysql.expect


sudo mysql -u root -p
CREATE DATABASE nextcloud;

CREATE USER 'nextclouduser'@'localhost' IDENTIFIED BY 'StrongPassword123';

GRANT ALL PRIVILEGES ON nextcloud.* TO 'nextclouduser'@'localhost';

FLUSH PRIVILEGES;

EXIT;
sudo dnf module reset php -y
sudo dnf module enable php:8.2 -y
sudo dnf install php php-mysqlnd php-gd php-xml php-mbstring php-curl php-zip php-cli php-bcmath php-intl php-json php-common php-opcache -y
cd /var/www/
sudo curl -O https://download.nextcloud.com/server/releases/nextcloud-31.0.4.zip
sudo unzip nextcloud-31.0.4.zip
sudo chown -R apache:apache nextcloud
sudo tee /etc/httpd/conf.d/nextcloud.conf > /dev/null <
    ServerName yourdomain.com
    DocumentRoot /var/www/nextcloud/


        Require all granted
        AllowOverride All
        Options FollowSymLinks MultiViews


    ErrorLog /var/log/httpd/nextcloud_error.log
    CustomLog /var/log/httpd/nextcloud_access.log combined

EOF

sudo dnf install firewalld -y
sudo systemctl start firewalld
sudo systemctl enable firewalld
sudo firewall-cmd --permanent --add-service=http
sudo firewall-cmd --permanent --add-service=https
sudo firewall-cmd --reload
sudo systemctl restart httpd
Conclusion
By following this guide to
install Nextcloud on AlmaLinux 9.4 Evoxt VPS, you can set up a fast, secure, and private cloud environment tailored to your needs. For more VPS hosting details, visit
Evoxt. Whether for personal use or collaborative work, this setup ensures data control, performance, and scalability. If you need a new server,
deploy an Evoxt VM here or
contact Evoxt support for assistance.
