Hosting a Discord bot on a VPS offers flexibility, reliability, and control. This guide will help you host your Discord bot on an Evoxt VPS step by step.
Step 1: Set Up Your VPS for Hosting a Discord Bot
- Purchase a VPS Plan: Choose an Evoxt plan that fits your bot’s resource needs (CPU, RAM, and storage).
- Access Your VPS: Use SSH to connect:
ssh username@your-vps-ip
Step 2: Install Required Software
Update the System
Keep your VPS up to date:
sudo apt update && sudo apt upgrade -y
Install Node.js and npm (For JavaScript Bots)
Install Node.js and npm to host your JavaScript-based Discord bot on Evoxt VPS:
sudo apt install nodejs npm -y
Verify the installation:
node -v
npm -v
Install Python (For Python Bots)
Install Python 3 and pip to host a Python-based Discord bot on Evoxt VPS:
sudo apt install python3 python3-pip -y
Verify:
python3 --version
pip3 --version
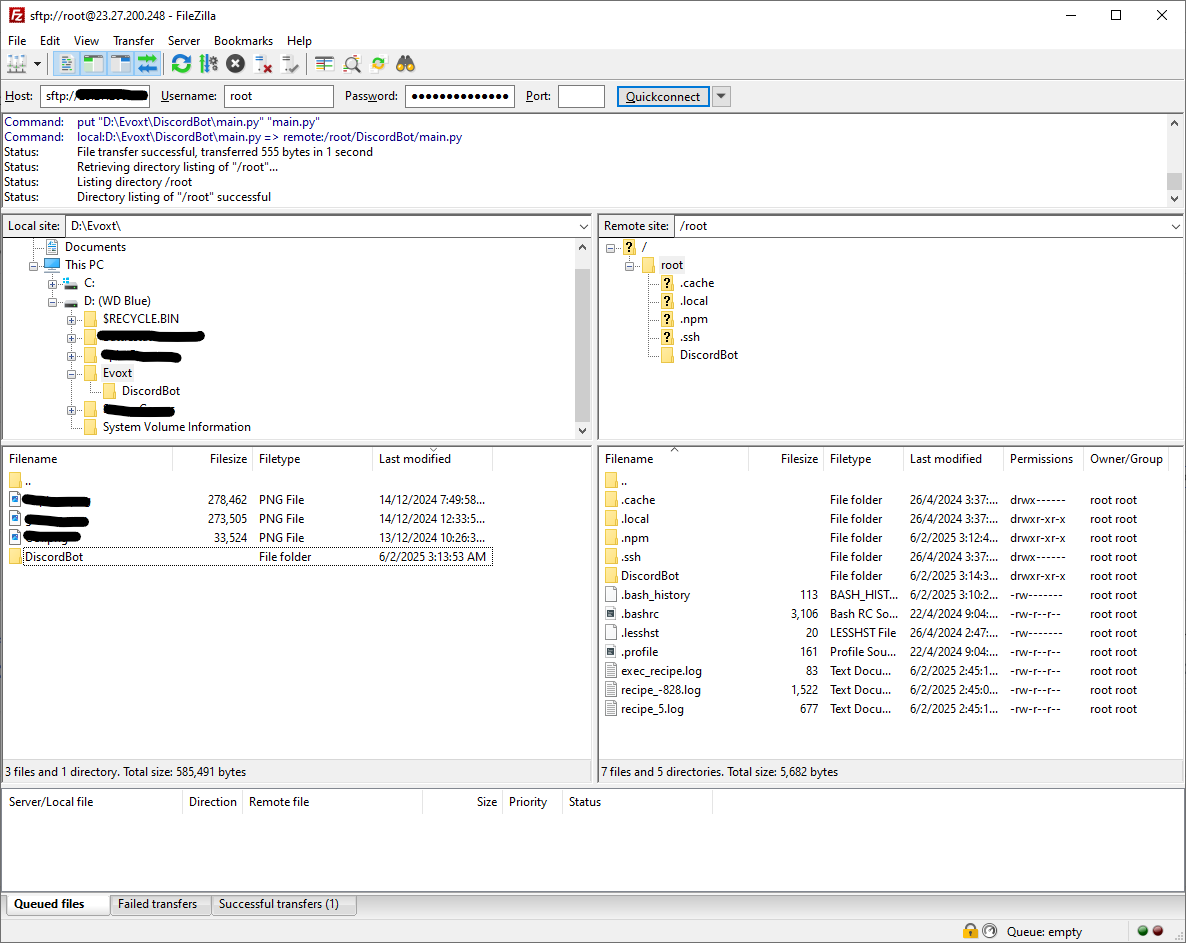
Step 3: Upload Your Bot’s Files
Manually upload your bot files using an SFTP client like
FileZilla or clone it from
GitHub.
Step 4: Install Dependencies
For JavaScript Bots
Navigate to your bot’s directory and install dependencies:
npm install
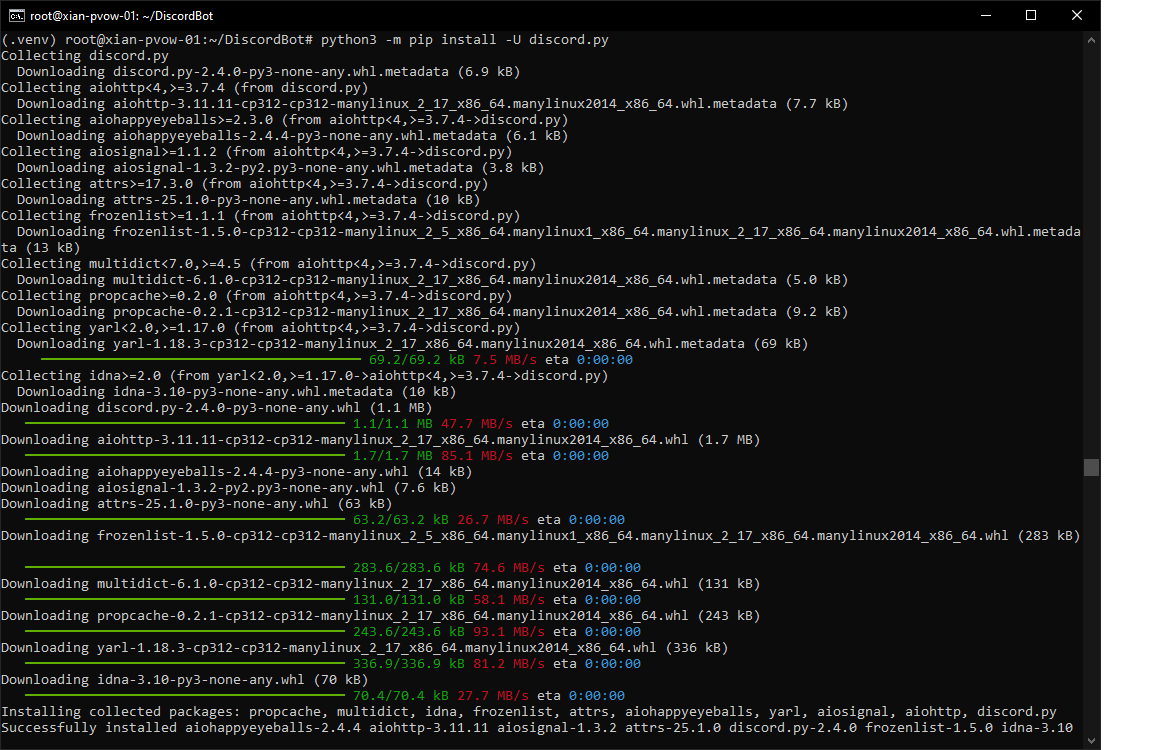
Create a Virtual Environment (For Python Bots)
To avoid dependency conflicts, create and activate a virtual environment:
apt install python3-venv
python3 -m venv .venv
source .venv/bin/activate
After activation, navigate to your bot's directory and install dependencies:
pip install -r requirements.txt
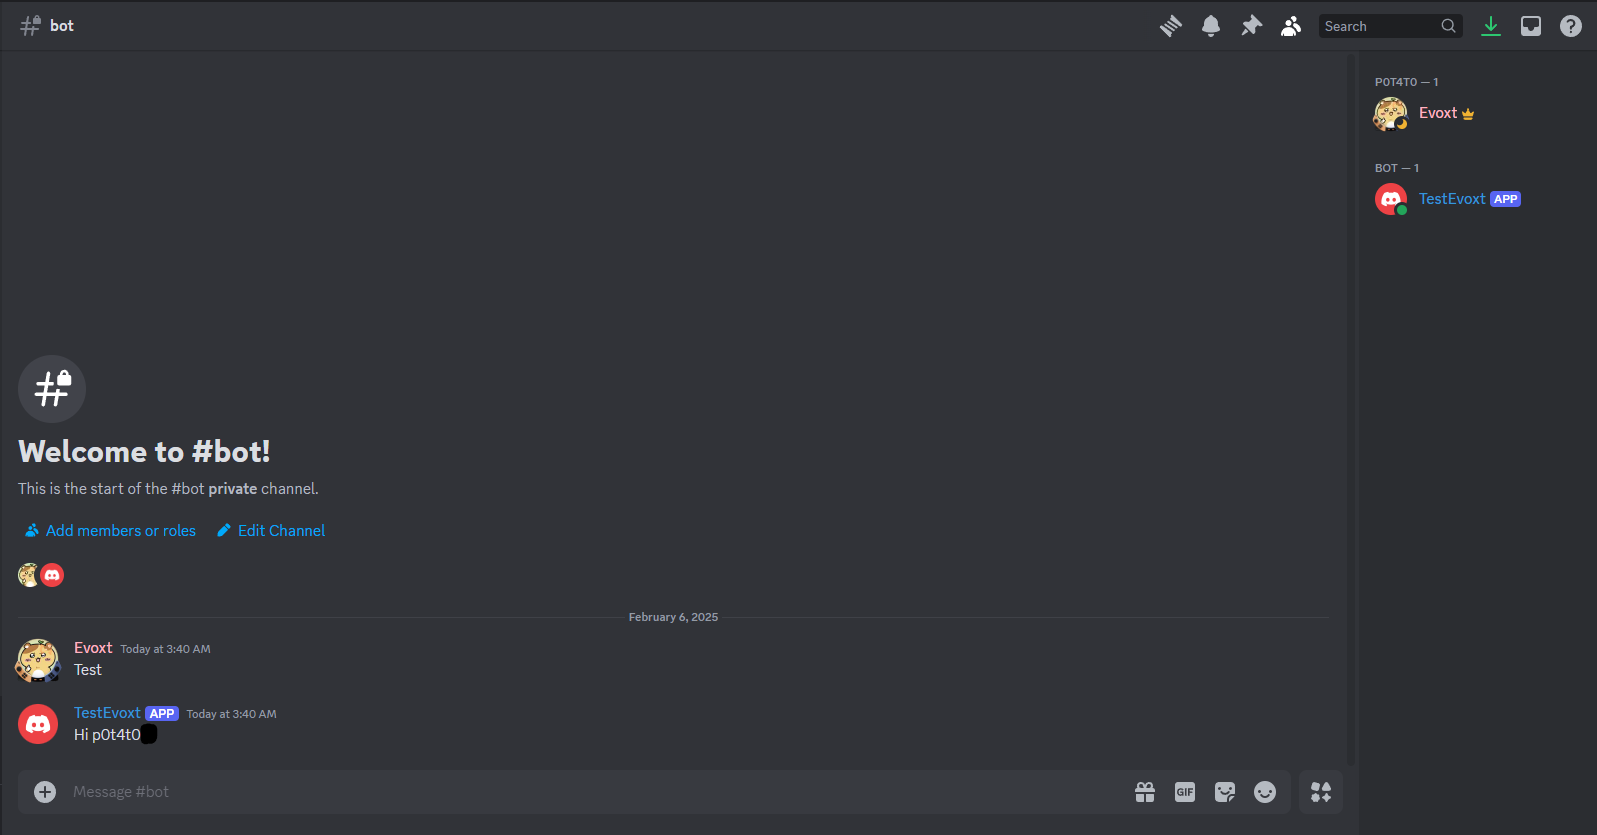
Step 5: Run Your Discord Bot on a VPS
For Node.js:
node bot.js
For Python:
python3 bot.py
Step 6: Keep Your Bot Running
Use pm2 to ensure your bot keeps running in the background.
-
Install pm2:
sudo npm install -g pm2
-
Start your bot:
For Node.js:
pm2 start bot.js
For Python:
pm2 start python3 -- bot.py
-
Save and auto-start the process:
pm2 save
pm2 startup
Why Choose Evoxt VPS for Hosting?
- Scalability: Adjust resources as your bot grows.
- Affordable Plans: Perfect for projects of all sizes.
- Full Control: Customize your server environment.
