
Welcome to the Evoxt VM dashboard guide. This article provides a complete overview of your VM details, performance monitoring, connectivity, and configuration options available through the Evoxt VM dashboard. Whether you are managing hardware specs or setting up backups, our Evoxt VM dashboard ensures you have full control over your virtual machine.
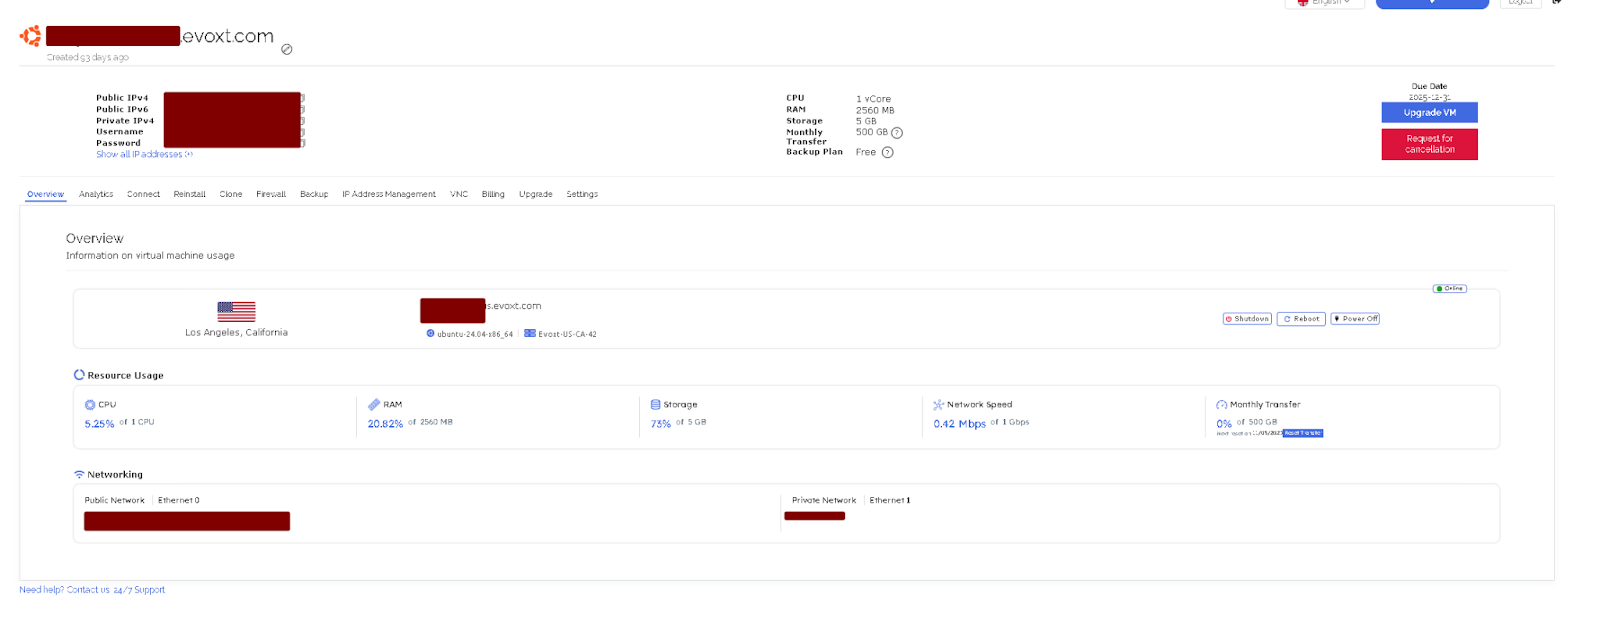
Displays your VM details, including:
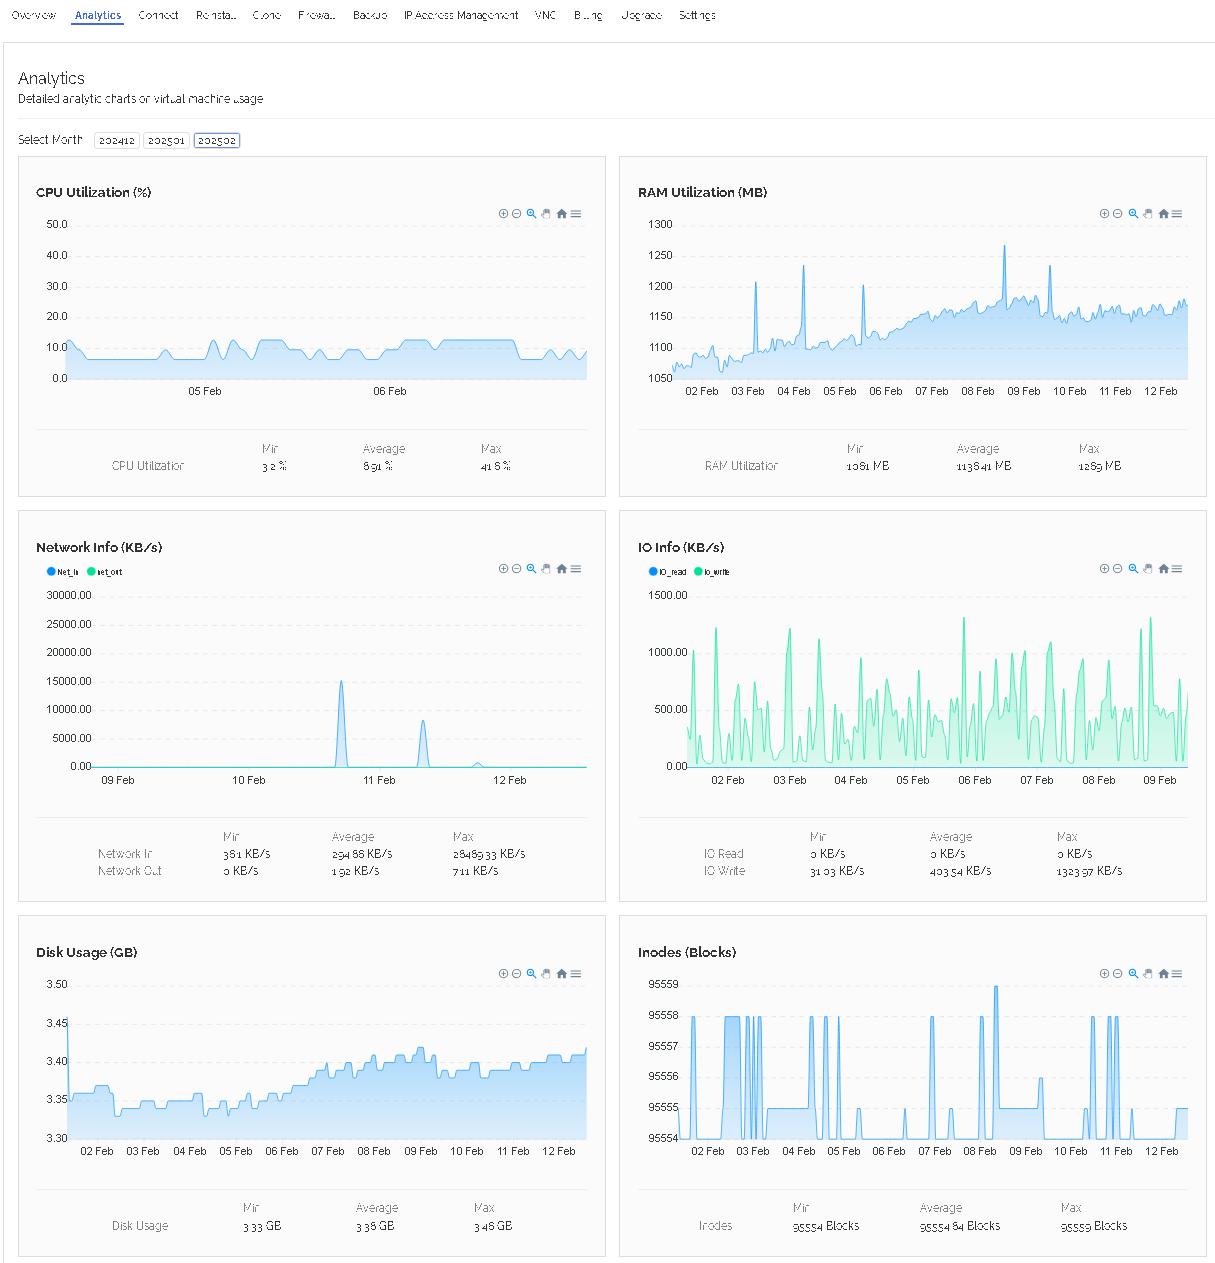
Shows VM usage metrics, including:
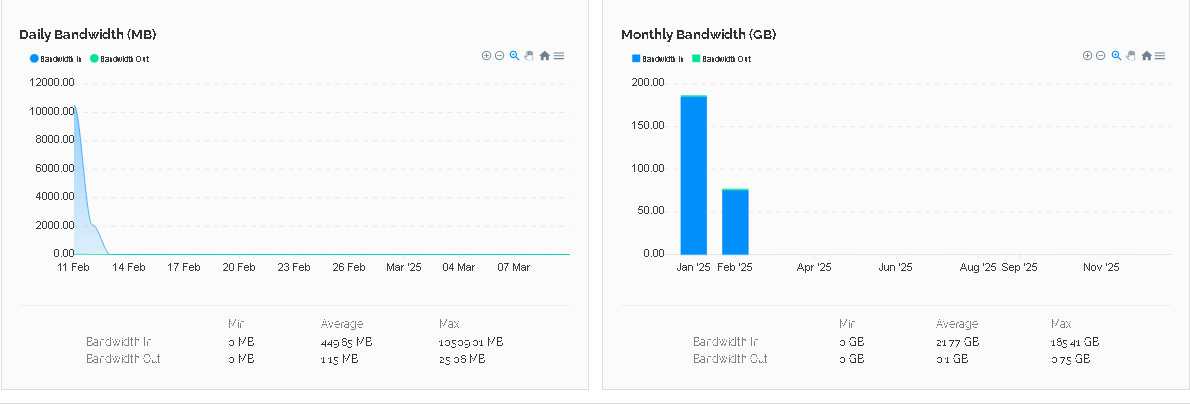
Displays daily & monthly bandwidth usage. Tip: For more accurate data, we recommend checking inside the VM using Task Manager or Resource Monitor.
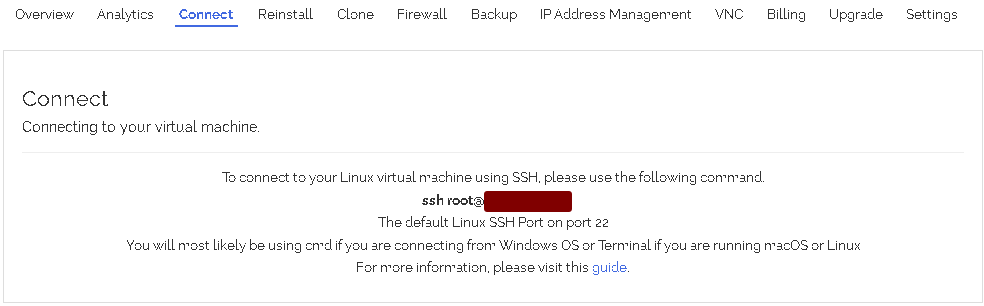
Provides instructions on accessing your VM. Displays the default Linux SSH port (port 22). Need help? Click here for a guide on connecting to Linux.
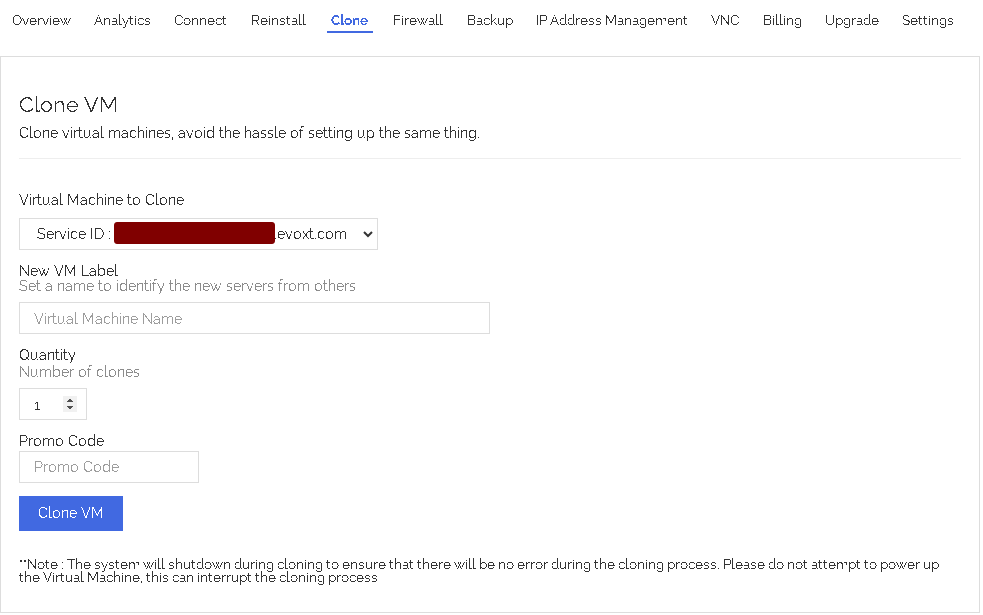
Copies your existing VM data to a new VM. Once payment is completed, the system will generate a new VM.
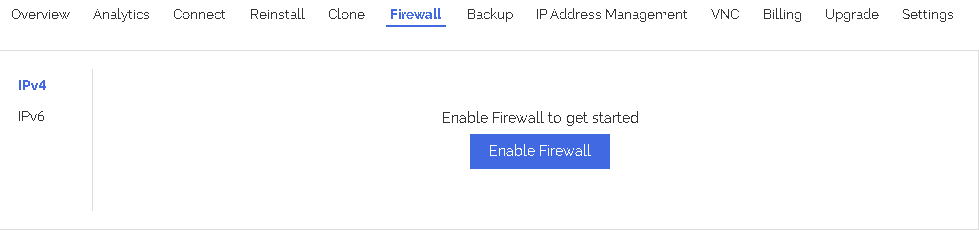
Configure IPv4 & IPv6 firewalls for your VM. Need help? Click here for a firewall setup guide.
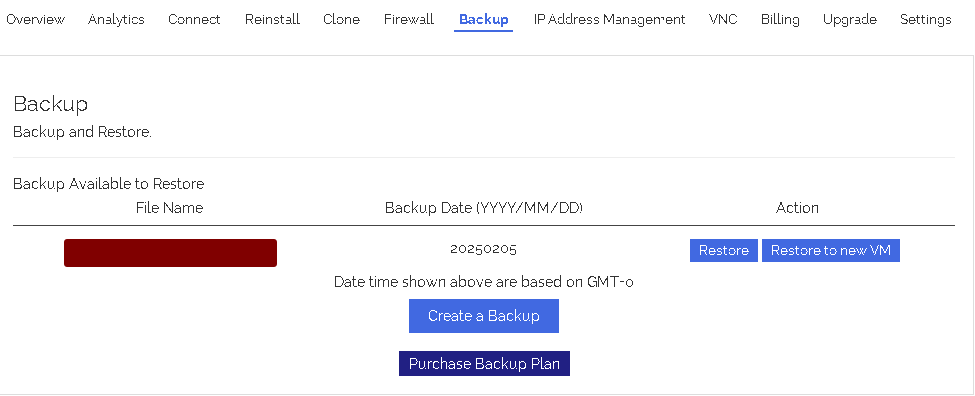
Backup: Restore data from a selected backup date. This will overwrite your current data.
Restore to New VM: Restore data from a selected backup to a new VM. Requires payment before restoration.

Allows you to:
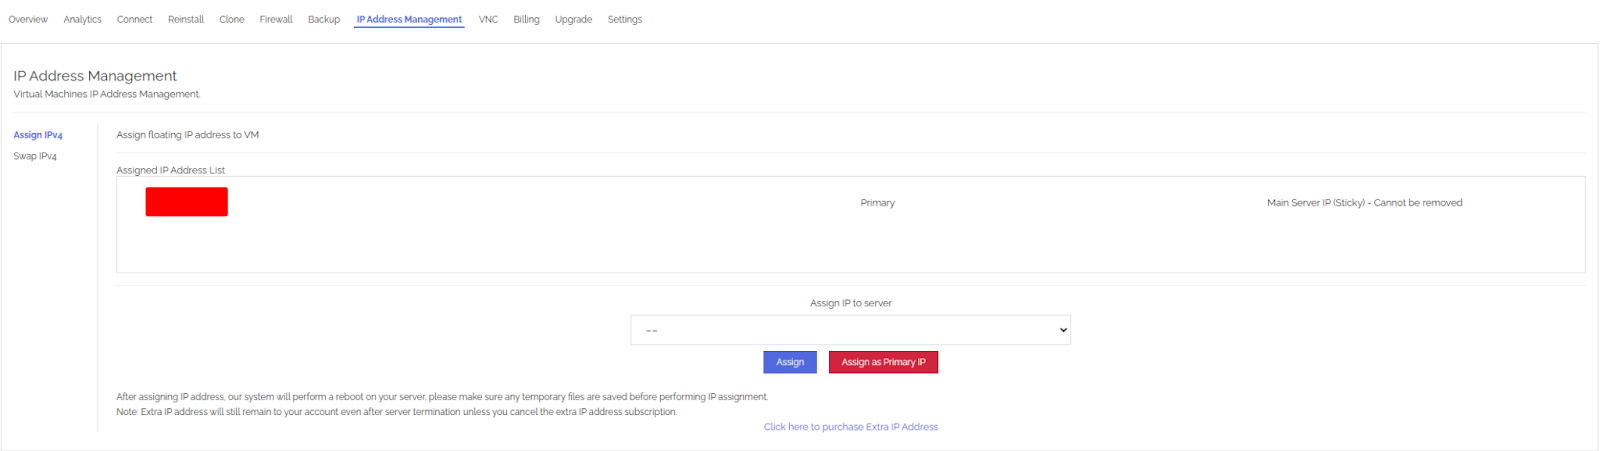
Assign a floating IP to your VM. Switch the main IP from this section. Need help? Click here for the Evoxt IP Management Tool Guide.
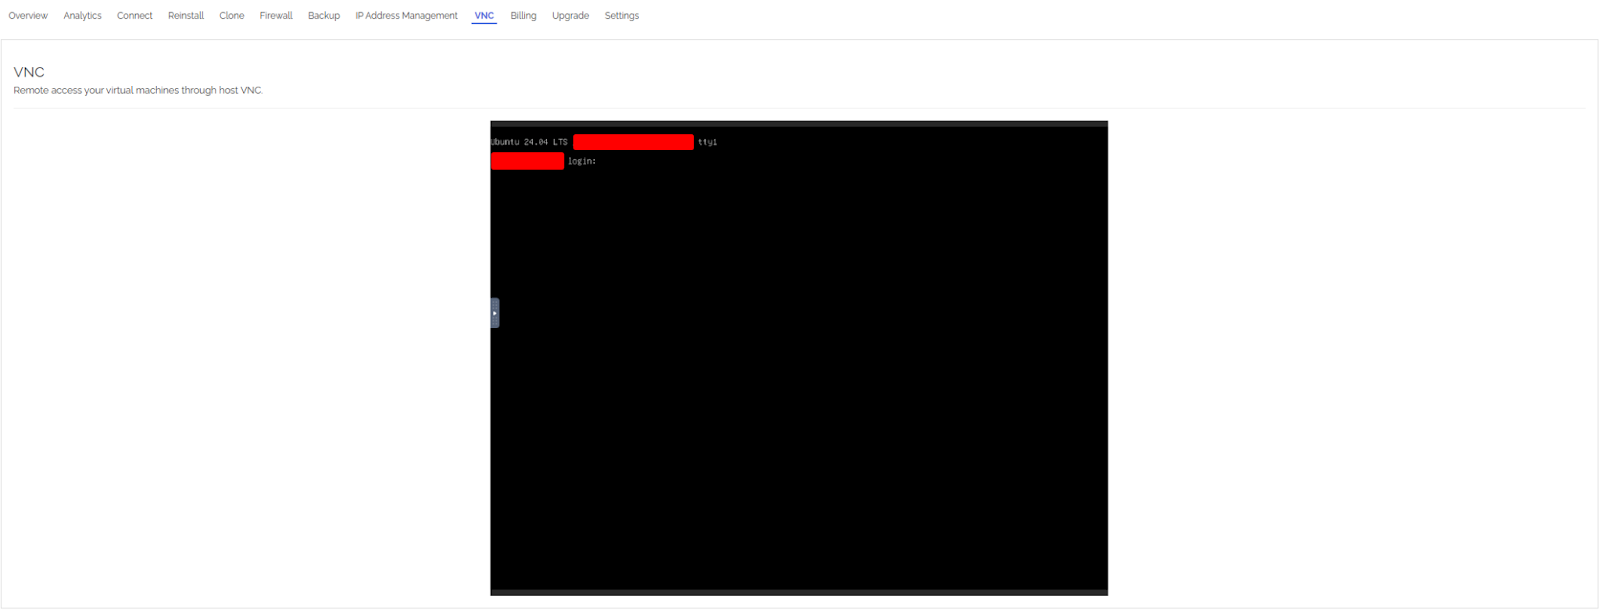
Connect to your VM even without network access. If you misconfigure network/firewall settings and lose access, VNC allows you to restore connectivity.
The Billing section consists of five key features to help you manage your payments and services efficiently.
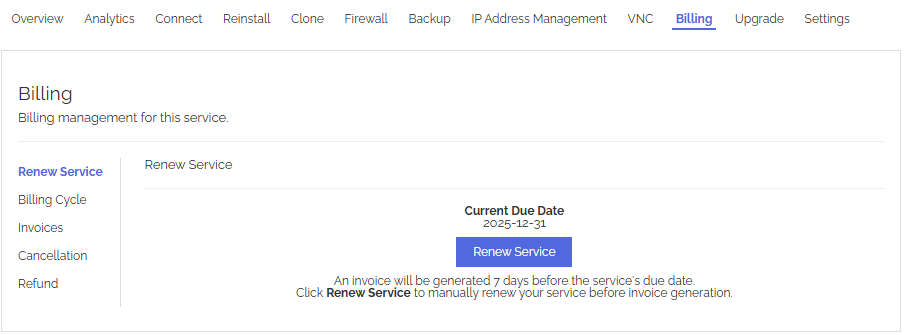
The 'Renewal Service' feature is where the system automatically generates an invoice for the next billing cycle.
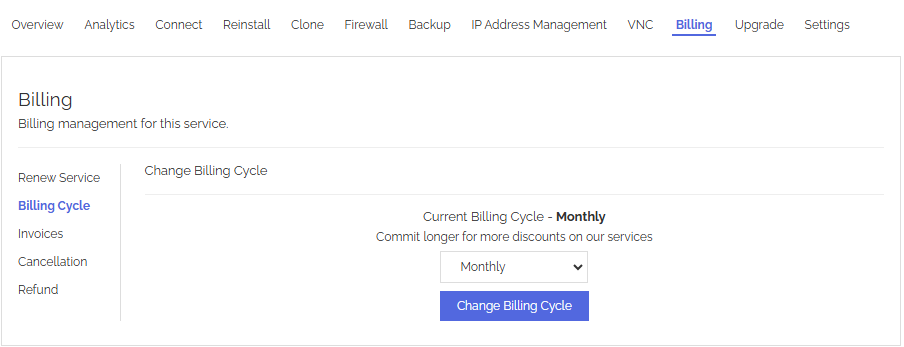
The Billing Cycle feature lets you change your service billing period with four options:
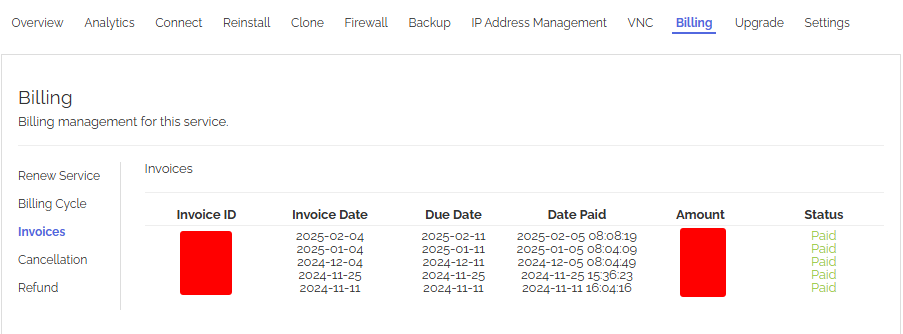
The Invoices feature allows you to view and access your past invoices for all your services.
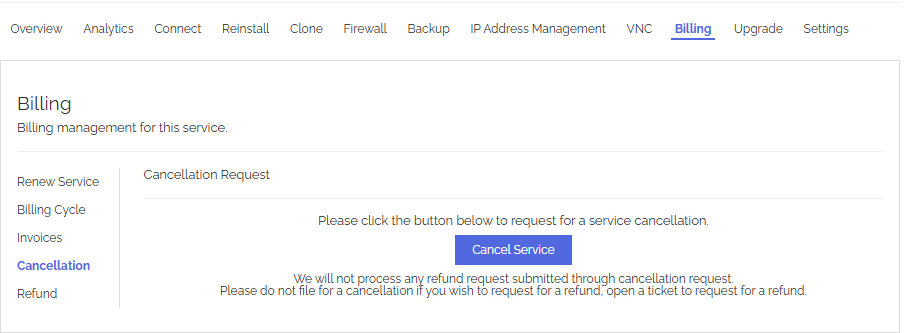
The Cancel function lets you terminate your service. Important: If your service is terminated and you need a refund, you must open a support ticket to apply for it.
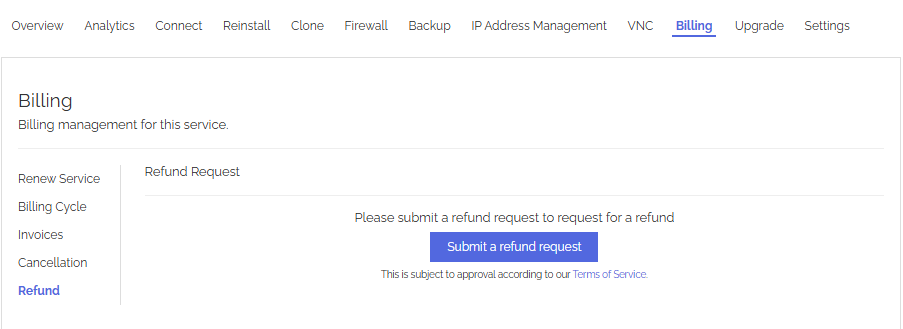
The Refund feature allows you to submit a refund request. Once submitted, refunds are processed within 3-5 business days.
The Upgrade section consists of five options, allowing you to enhance your service based on your needs.
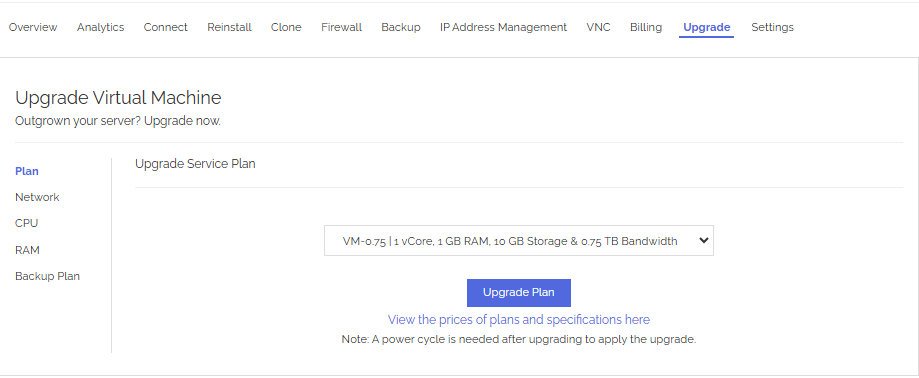
The Plan section allows you to upgrade your service plan. Click "Upgrade Plan" to generate an invoice. Once the payment is completed, your plan will be automatically upgraded.
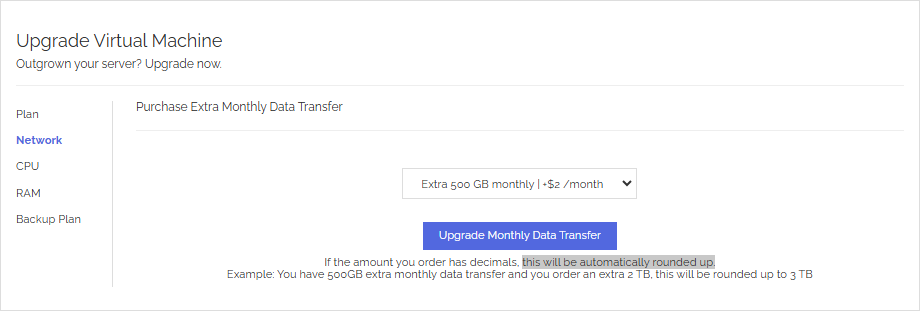
The Network section lets you increase your data transfer limit. For example, if you currently have 500GB extra monthly data transfer and you add 1TB, your total data transfer will be rounded up to 2 TB.
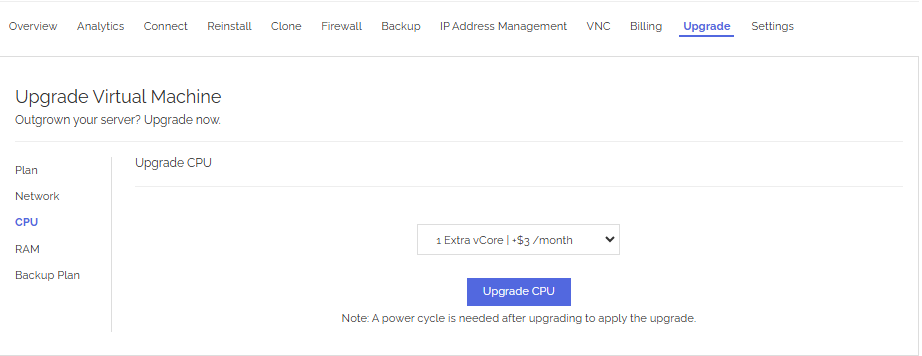
The CPU section is used to increase CPU cores. The maximum upgrade limit is 16 CPU cores.

The RAM section allows you to expand your VM’s memory. Example: If your VM has 4GB of RAM and you add 1GB, your total RAM will be 5 GB. The maximum upgrade limit is 32GB RAM.
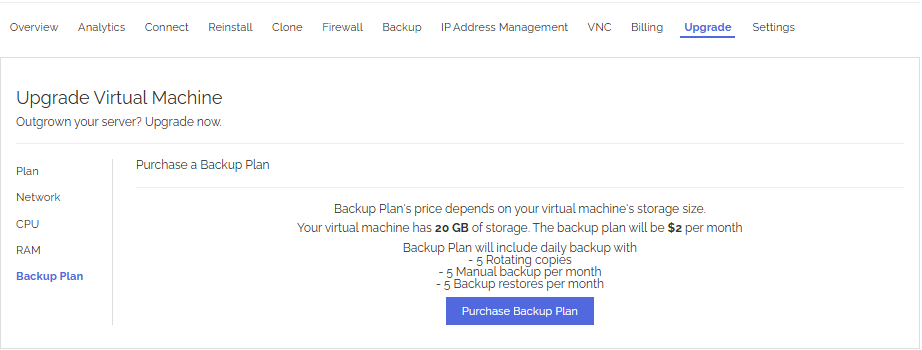
We provide a weekly backup by default. If you need more frequent backups, you can upgrade to our enhanced backup plan, which includes:
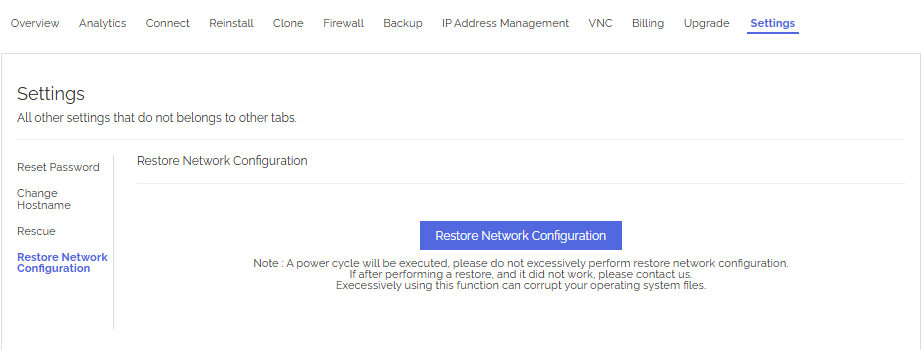
The Settings section includes four key options to help you manage your VM efficiently.
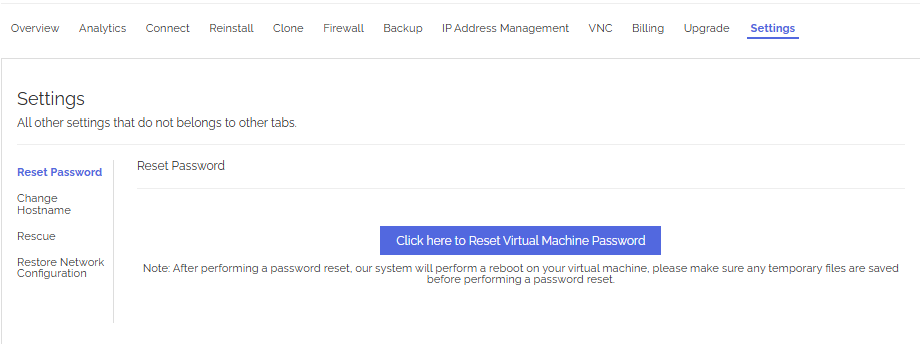
Change your VM password here. Important: After changing the password, reboot your VM to ensure the new password is applied.
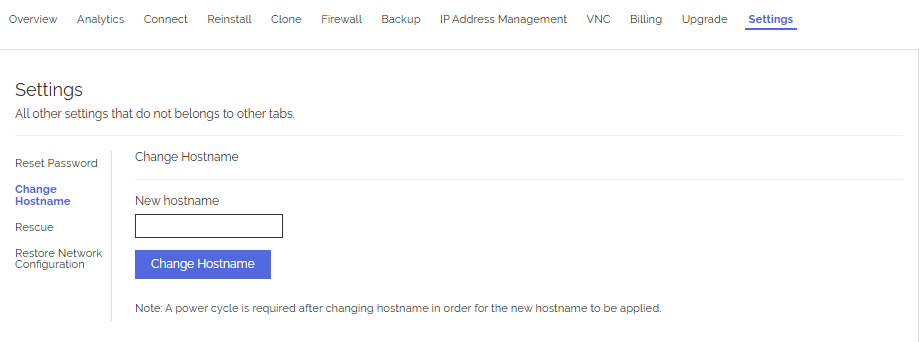
Update your VM’s hostname. Note: After changing the hostname, restart your VM for the changes to take effect.
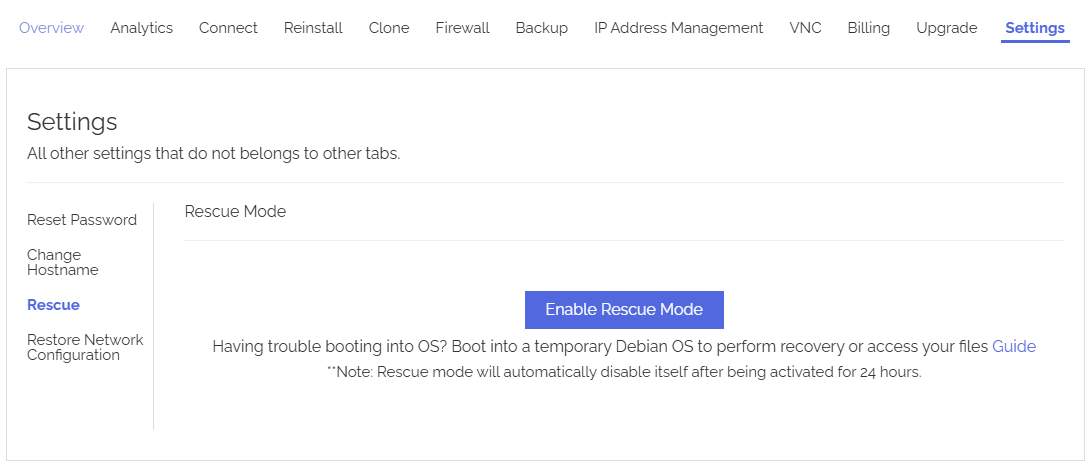
Boot into a temporary Debian OS for system recovery or file access. Reminder: Rescue mode will automatically disable after 24 hours.
Restore your network settings if needed. Warning: Excessive use of this feature may corrupt your OS files. If restoring the network does not work, please contact support.