Changing DNS in Windows can enhance internet speed, security, and reliability. This guide will show you how to change DNS settings in Windows step by step.
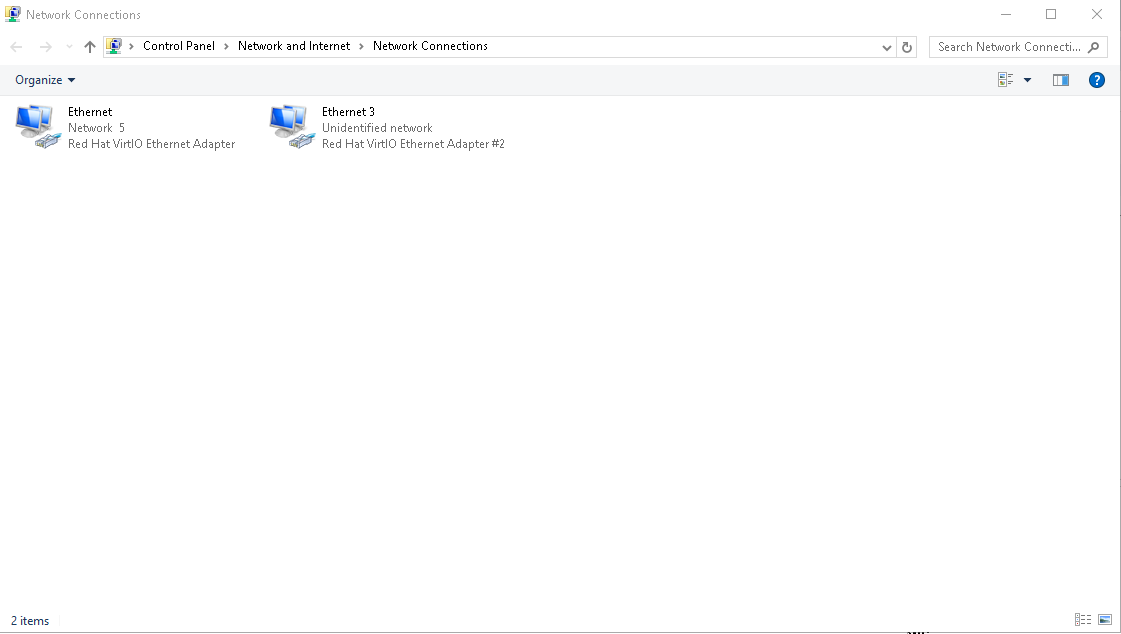
Step 1: Open Network Settings to Change DNS in Windows
Press
Win + R, type
ncpa.cpl, and press
Enter to open the Network Connections window.
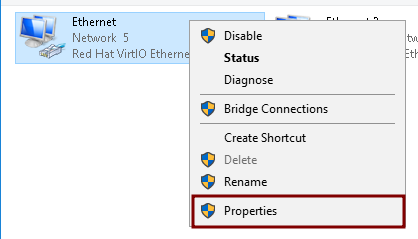
Step 2: Open Connection Properties
Right-click your active connection (
Wi-Fi or
Ethernet) and select
Properties.
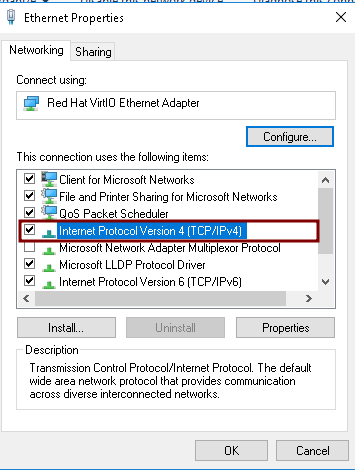
Step 3: Select Internet Protocol Version 4 (TCP/IPv4)
In the list of items, find and select
Internet Protocol Version 4 (TCP/IPv4), then click
Properties.
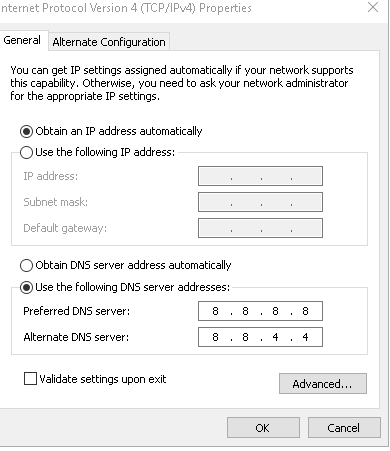
Step 4: Enter Custom DNS Servers
Select
Use the following DNS server addresses, and enter one of the following:
- Google DNS: 8.8.8.8 and 8.8.4.4
- Cloudflare DNS: 1.1.1.1 and 1.0.0.1
- OpenDNS: 208.67.222.222 and 208.67.220.220
Step 5: Save Changes
Click
OK, then
Close to apply the new settings.
By following these steps, you can optimize your DNS settings for better performance and security. If you're using Linux, follow our guide on
How to Change DNS Settings in Linux to update your DNS configuration.
Need a reliable VPS?
Deploy an Evoxt VM here or
contact Evoxt support for assistance.