This step‑by‑step guide explains how to install and configure OpenClaw on an Evoxt VPS. It is optimized for beginners, developers, and businesses looking to deploy a self‑hosted AI agent securely and efficiently.
Whether you are testing AI automation or running production workloads, Evoxt VPS provides a stable and affordable environment for OpenClaw.
Why Run OpenClaw on Evoxt VPS?
Deploying
OpenClaw on Evoxt offers:
- Affordable VM plans
- Full root access
- SSD storage
- Reliable network uptime
- Support for AI workloads
Running OpenClaw on a VPS ensures 24/7 availability without depending on a local computer.
1. Recommended Evoxt VPS Plan
For a smooth and stable OpenClaw experience, we recommend using:
Evoxt VM‑2 or above
This plan offers balanced CPU and memory resources that are well‑suited for OpenClaw without requiring complex tuning or optimization.
Why Evoxt VM‑2+ works well with OpenClaw:
- Consistent VPS performance
- Sufficient memory for AI workloads
- Stable environment for long‑running services
Can get more information about the
VM Plan.
2. System Preparation
Before installing OpenClaw, make sure your Evoxt VPS is fully up to date.
Update your system
# AlmaLinux / Rocky Linux
sudo dnf update -y

# Ubuntu
sudo apt update && sudo apt upgrade -y
Install required system packages
sudo dnf install -y libatomic tar python3 cmake # RHEL-based (AlmaLinux / Rocky / RHEL)
sudo dnf groupinstall -y "Development Tools" # RHEL-based (AlmaLinux / Rocky / RHEL)
sudo apt install -y libatomic1 build-essential tar python3 cmake #Debian/Ubuntu
These packages ensure OpenClaw and its dependencies run correctly in a production environment.
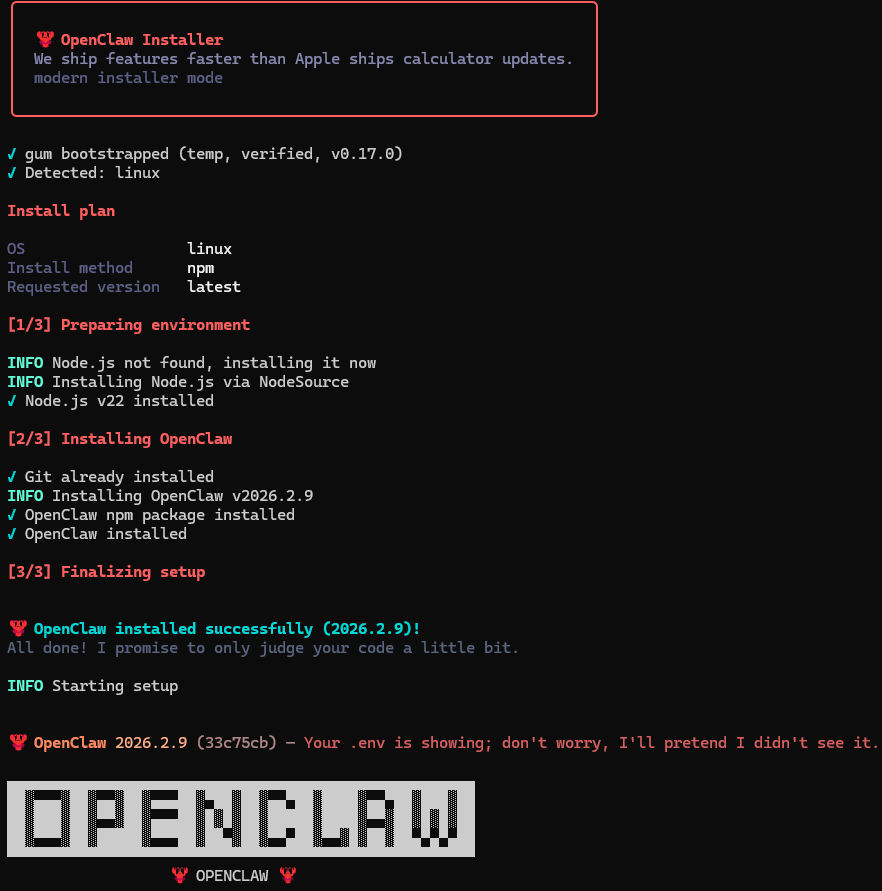
3. Install OpenClaw on Evoxt VPS
Install OpenClaw using the official installation script:
curl -fsSL https://openclaw.ai/install.sh | bash
The script will automatically download and configure OpenClaw on your VPS.
Wait until the installation completes successfully.
4. OpenClaw Onboarding Process
After installation, OpenClaw will start an interactive setup in the terminal (TUI mode).
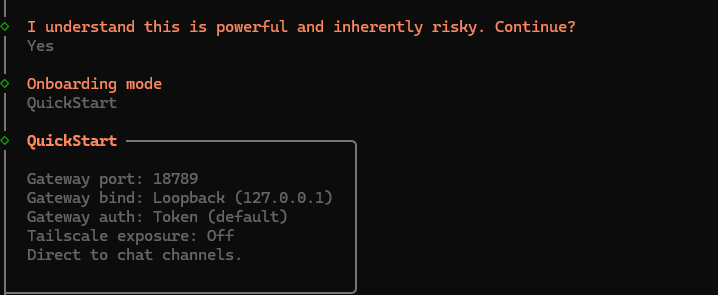
a) Onboarding Mode
You will be asked to choose between:
- Quick Start (Recommended for beginners)
- Manual Configuration (Advanced users)
We recommend selecting
Quick Start to skip complex configuration.
After Quick Start, the terminal will display confirmation messages.
b) Select the AI Model
Next, choose the AI model provider.
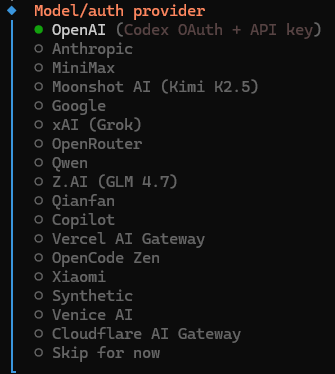
If using
Google Gemini:
- Visit Google AI Studio
- Generate a Gemini API key
- Paste the key into the terminal when prompted
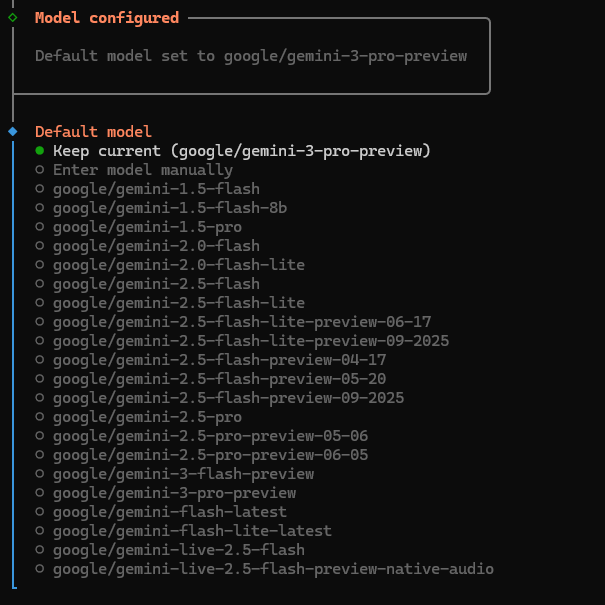
After entering your API key, OpenClaw will display available model options based on your subscription.
Select the preferred model.
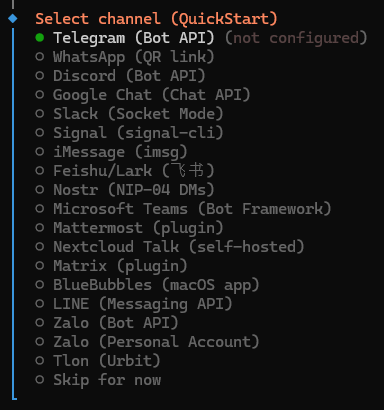
c) Select the Chat Interface Channel
OpenClaw supports multiple chat platforms, including:
- Telegram
- WhatsApp
- Discord
You may configure a chat interface during onboarding or skip it and configure later.
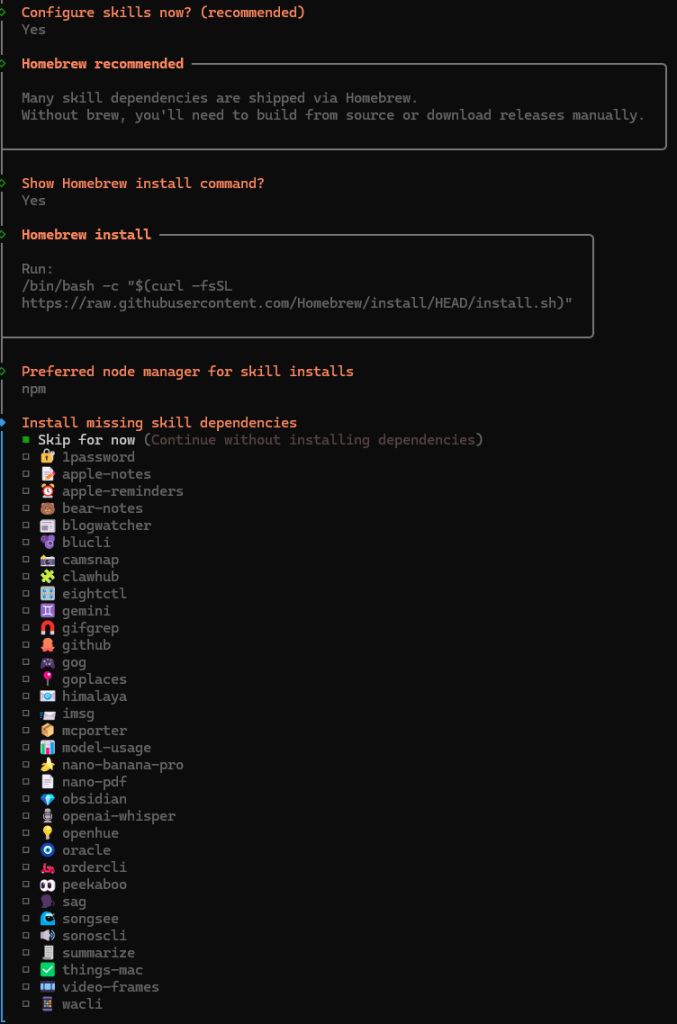
d) Setting Up Skills
OpenClaw supports “skills,” which are tools that allow the AI agent to perform specific tasks.
When prompted:
- Select Yes to enable skills
- Choose npm as the preferred Node manager
If you do not want to install skills now:
- Press the spacebar to select Skip for now
- Press Enter to continue
Skills can be configured later.
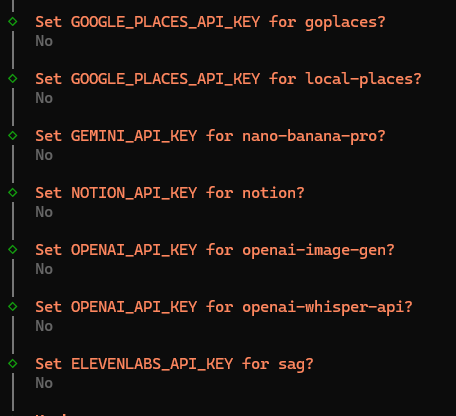
e) Configure Additional API Keys
OpenClaw may ask for additional third‑party API keys.
If you do not have any:
Select
No to skip each option.
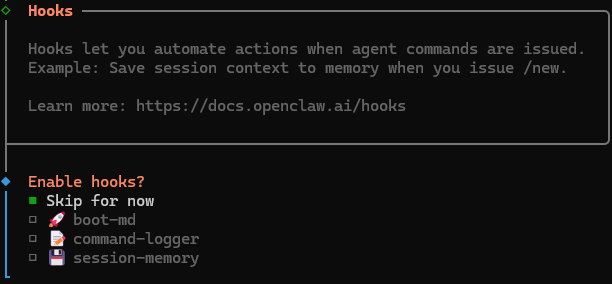
f) Enable Hooks
Hooks provide additional automation features such as:
- boot-md (Run Boot.md at startup)
- command-logger (Centralized command logging)
- session-memory (Session context saving)
For initial setup, you may select
Skip for now.
Hooks can be enabled later through configuration.
5. How to Run OpenClaw
After setup is complete, OpenClaw launches its
TUI (Terminal User Interface).
Hatch Mode (Recommended)
Inside the TUI, select
Hatch.
With Hatch mode, you can:
- Use the AI bot directly in a GUI‑style interface, or
- Launch the OpenClaw Web UI for browser‑based interaction
This makes OpenClaw extremely beginner‑friendly while remaining powerful for advanced users.

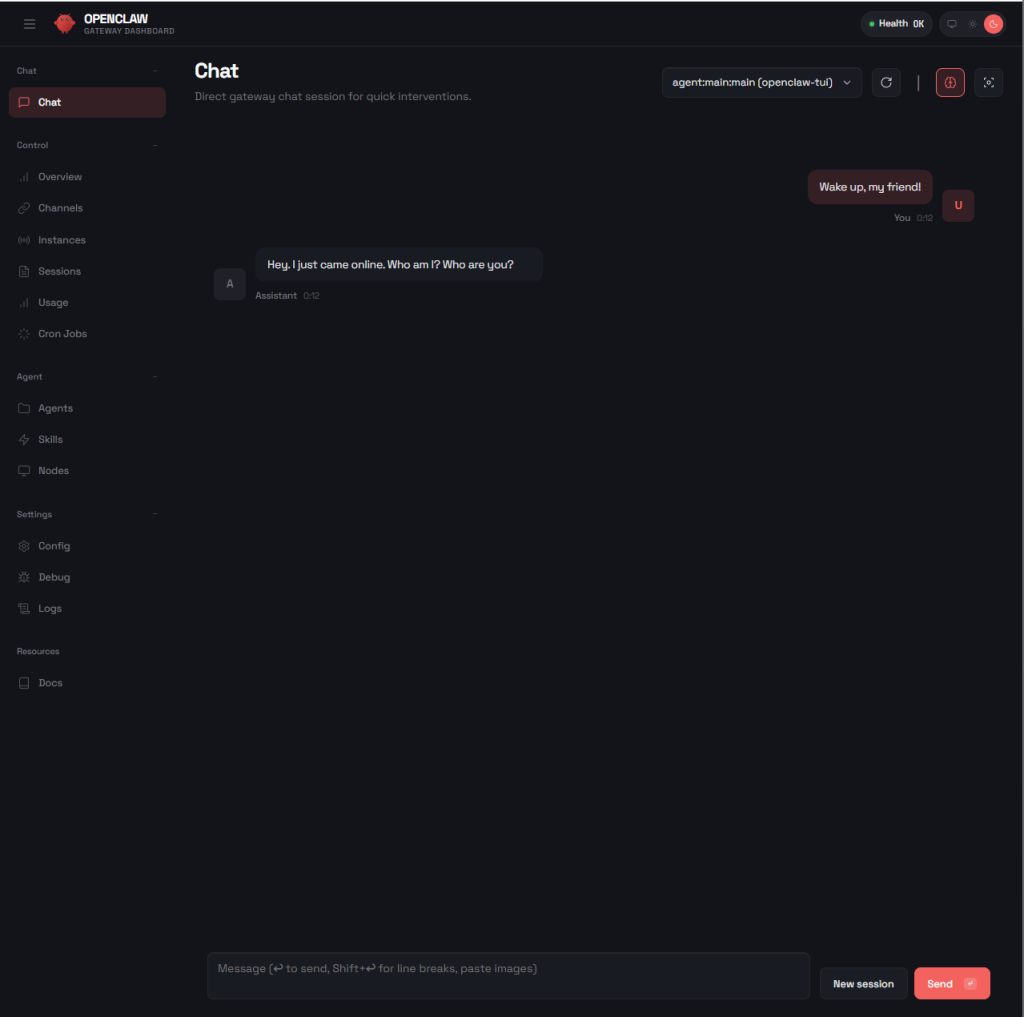
6. Access OpenClaw Web GUI via SSH Tunnel
To securely access the OpenClaw Web UI from your local machine, create an SSH tunnel:
ssh -N -L 18789:127.0.0.1:18789 root@YOUR_SERVER_IP

After entering your SSH password, open the URL shown by OpenClaw in your browser.
If the page loads successfully, you now have full access to the
OpenClaw Web GUI running on Evoxt VPS.
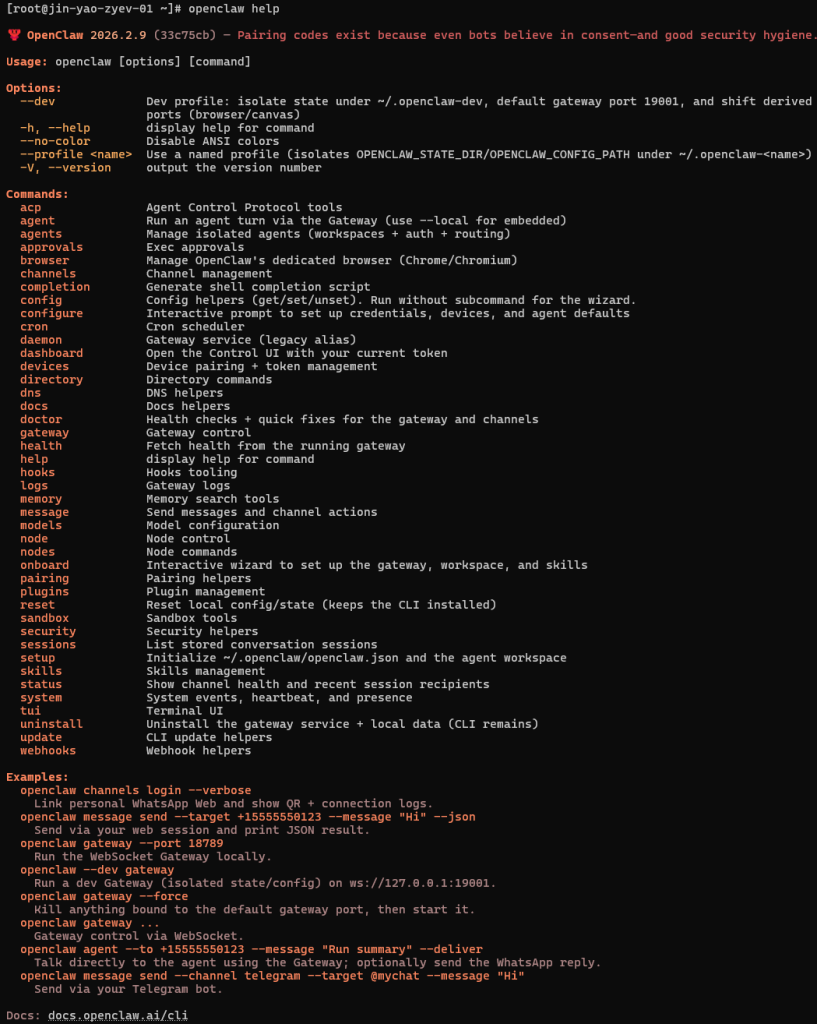
7. OpenClaw Commands & Documentation
If you are unsure about commands, run:
openclaw help
This displays available CLI commands.
For advanced configuration and integrations, refer to the
official documentation.
You will find:
- Complete CLI references
- Web UI guides
- API integration examples
- Advanced configuration options
Security Best Practices for OpenClaw on Evoxt VPS
For production deployments, consider the following:
- Create a dedicated non‑root user to run OpenClaw
- Avoid mixing sensitive system files with OpenClaw‑managed directories
- Grant minimal permissions to the AI agent
- Avoid connecting OpenClaw to public or unmoderated shared chat groups
- Keep your VPS updated regularly
- Secure SSH access (disable password login if possible)
Security should always be prioritized when deploying AI automation tools.
sudo dnf install -y libatomic tar python3 cmake # RHEL-based (AlmaLinux / Rocky / RHEL)
sudo dnf groupinstall -y "Development Tools"# RHEL-based (AlmaLinux / Rocky / RHEL)
sudo apt install -y libatomic1 build-essential tar python3 cmake #Debian/Ubuntu
curl -fsSL https://openclaw.ai/install.sh | bash
Conclusion
Running
OpenClaw on an Evoxt VPS is a reliable and scalable way to deploy self‑hosted AI solutions.
With Evoxt’s stable VM infrastructure and OpenClaw’s intuitive TUI and Web UI, you can move from installation to production quickly and efficiently.
Whether for development, internal automation, or AI‑powered services, the combination of
Evoxt + OpenClaw provides a powerful foundation for modern AI workloads.
For more Evoxt VPS guides, visit
Evoxt Tutorials.