Want to install a graphical user interface (GUI) on your Ubuntu server? Follow this guide to set up a GUI and enable remote access via RDP. Whether you're using a minimal install or a headless server, this tutorial will help you get started.
Step 1: Update Your System for Ubuntu GUI Installation
Before installing a GUI, update and upgrade your packages to the latest versions:
sudo apt update
sudo apt upgrade -y
Step 2: Choose and Install an Ubuntu GUI
Ubuntu supports multiple desktop environments. Choose one based on your needs:
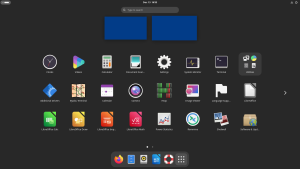
- GNOME: Default Ubuntu Desktop, modern and clean.
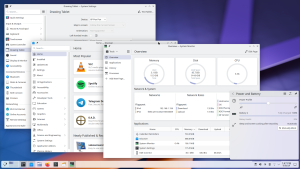
- KDE Plasma: A customizable and visually appealing interface.
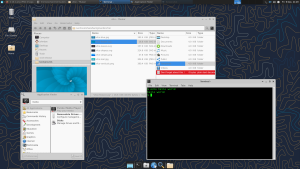
- Xfce: Lightweight, ideal for low-resource systems (used in Xubuntu).
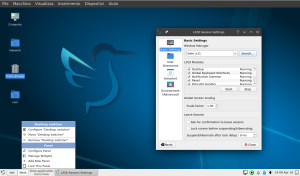
- LXQt: Fast and lightweight (used in Lubuntu).
- MATE: A continuation of GNOME 2, designed for traditional desktops.
Install your chosen desktop environment with the appropriate command:
GNOME
sudo apt install ubuntu-desktop -y
KDE Plasma
sudo apt install kde-plasma-desktop -y
Xfce
sudo apt install xubuntu-desktop -y
LXQt
sudo apt install lubuntu-desktop -y
MATE
sudo apt install ubuntu-mate-desktop -y
Step 3: Install xRDP to Access Remotely
- To enable remote desktop connections, install xRDP:
sudo apt install xrdp -y
- Allow RDP traffic through the firewall:
sudo ufw allow 3389
Step 4: Reboot Your System for GUI Changes
Reboot your system to apply the changes:
sudo reboot
Step 5: Connect to Ubuntu GUI via RDP
After the reboot, use an RDP client to connect to your Ubuntu server:
- Windows: Open Remote Desktop Connection.
- Linux/macOS: Use an RDP client like Remmina or FreeRDP.
Enter the IP address and log in with your Ubuntu username and password.

Optional: Remove or Switch Ubuntu GUI
To remove a desktop environment, use:
sudo apt purge <package-name>
Replace
<package-name> with the desktop environment's package, e.g.,
ubuntu-desktop.
Quick Commands
sudo apt update
sudo apt upgrade -y
sudo apt install ubuntu-desktop -y
sudo apt install xrdp -y
sudo reboot
