VestaCP One-Click Installation


VestaCP is an open-source web hosting control panel that helps you to manage your website easily with the easy-to-use GUI interface. It is so lightweight that it can run on Evoxt's smallest plan. Despite being lightweight, VestaCP is also feature-packed. VestaCP comes with many features such as DNS manager, email accounts, Database manager, cron manager, and even backups. One special feature about VestaCP supports on NGINX, while even the most popular web hosting control panel, cPanel, couldn't even do. Okay, enough with the introduction, let's get started.
Instruction
Check your email for your VM details. Your VM details are sent to your email inbox.Check your junk/ spam mail just in case.
Did not receive it? Contact us.

Installation
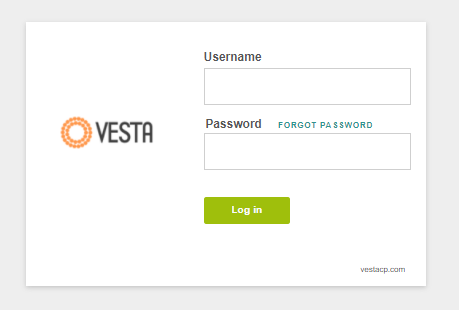
VestaCP is already installed by default and no further steps are needed with Evoxt's VestaCP one-click installation.To configure your VestaCP, simply head to YOUR_VM_IP:8083 to access your VestaCP's control panel.
192.168.0.1:8083

The default username and password will be:
Username: admin
Password: 1234567
Password: 1234567
You can also reset the default password using this command:
v-change-user-password admin YOUR_NEW_PASSWORD
Remember to replace YOUR_NEW_PASSWORD with the password that you want to set for your admin account.
[root@VestaCP ~]# v-change-user-password admin EVOXT12345!!
[root@VestaCP ~]#
[root@VestaCP ~]#
Login

Remember to change your VestaCP admin password to prevent any unauthorized access to your VestaCP.
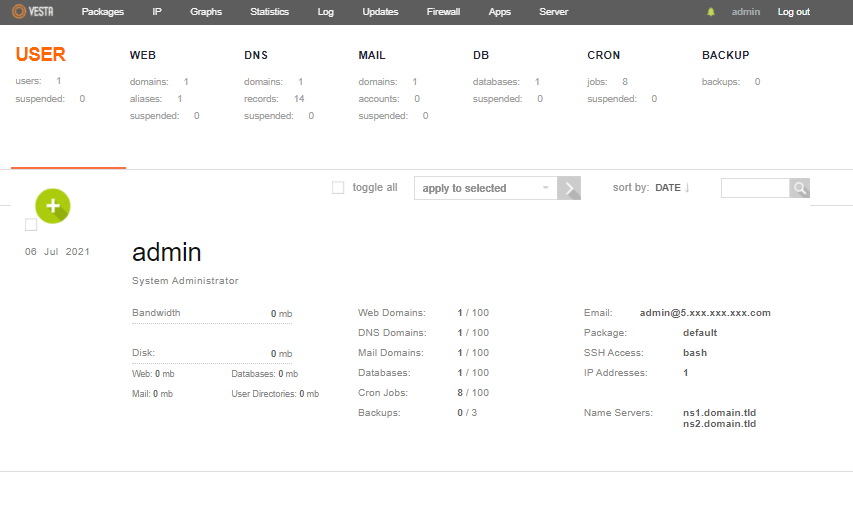
To do that, simply head to User > Admin > Edit > Change password
To do that, simply head to User > Admin > Edit > Change password
Some additional information
You can also manage your VestaCP through CLI, Here are the list of CLI written on VestaCP documentation page that you can use : https://vestacp.com/docs/cli/Deploy VestaCP with Evoxt's VestaCP One-Click Installation now!
Deploy
