VNC is a remote control program that helps users to control another device over a network. One upside of VNC is that it works across multiple operating systems.
With Evoxt's VNC, the VNC server is located on the host node. This means that it can connect to a VM even when the VM's network connectivity is down or when the VM is stuck in a boot loop or grub, users can still connect through VNC to be able to perform troubleshooting. Also, with Evoxt's VNC, if your client device does not have a proprietary remote desktop protocol such as RDP/SSH client installed, you can still perform a quick remote control through VNC.
If your VM is facing the issues below, with Evoxt's VNC, this usually can be fixed:
- The network adapter is disabled accidentally.
- VM is stuck in a boot loop or Grub
- The primary IP address is accidentally changed with a proxy or a VPN
- Enabled firewall but forgot to add in RDP/SSH's firewall rule
Accessing Evoxt's VNC
To access Evoxt's VNC,
Login to your Evoxt account.
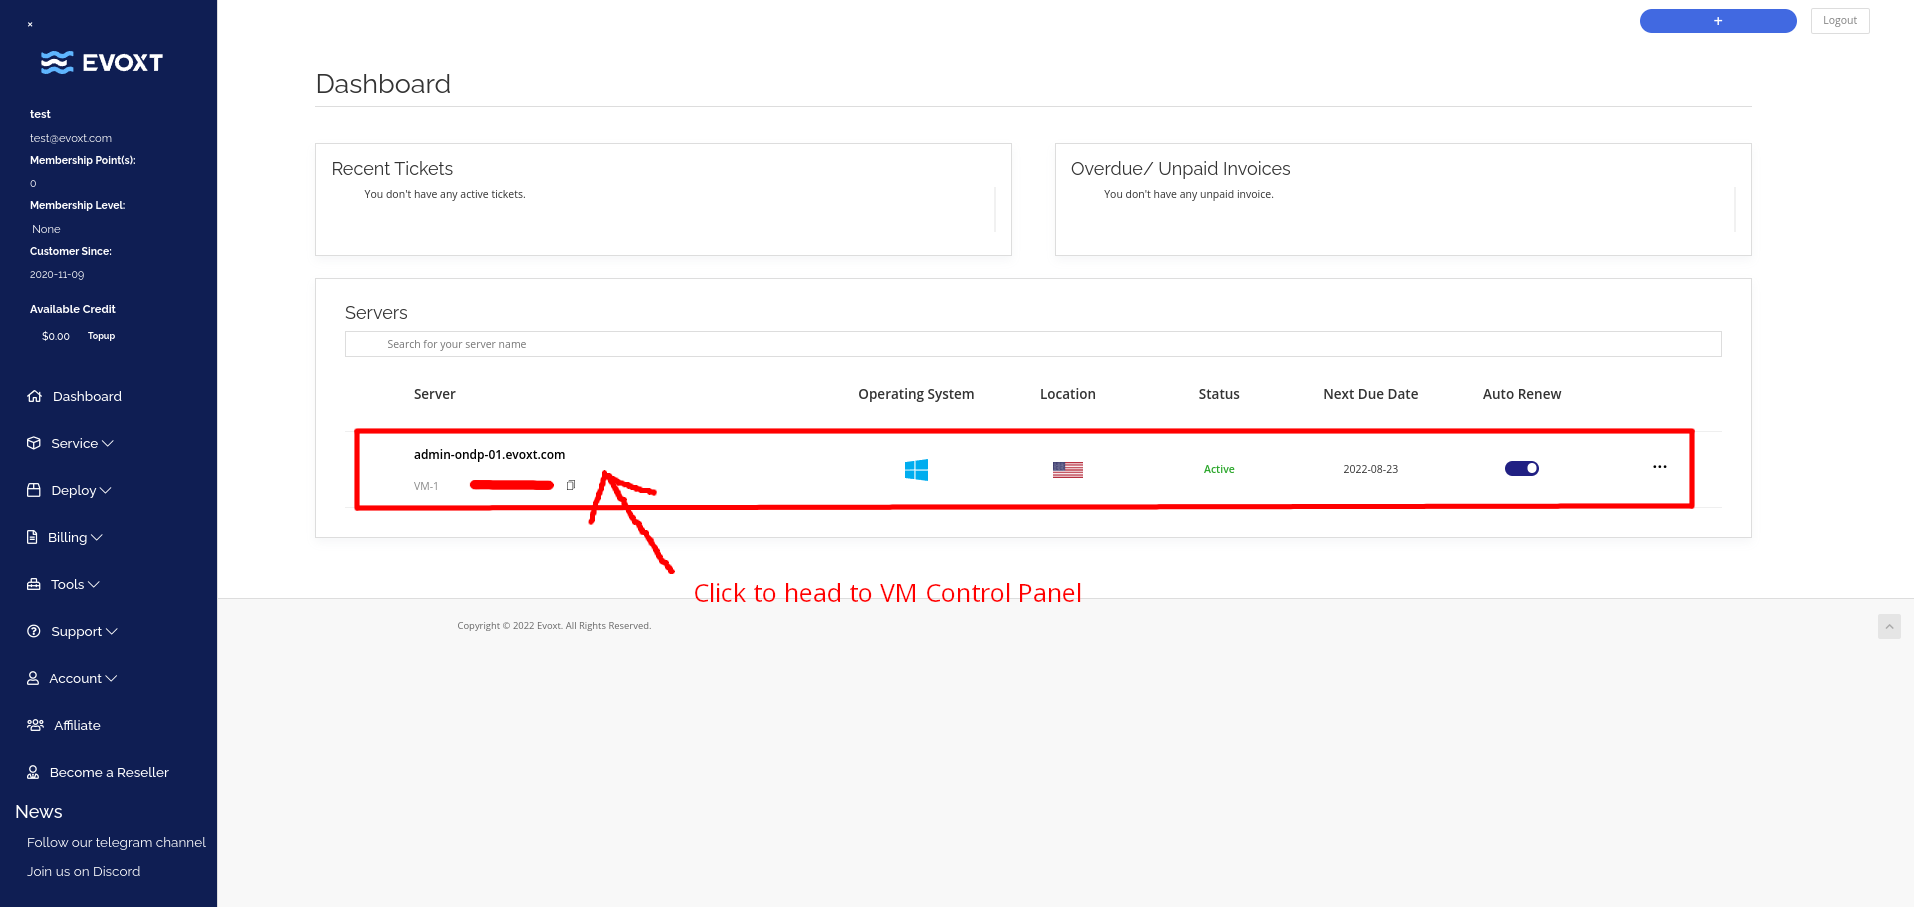
On your account's dashboard, click on the VM that you want to remote control.
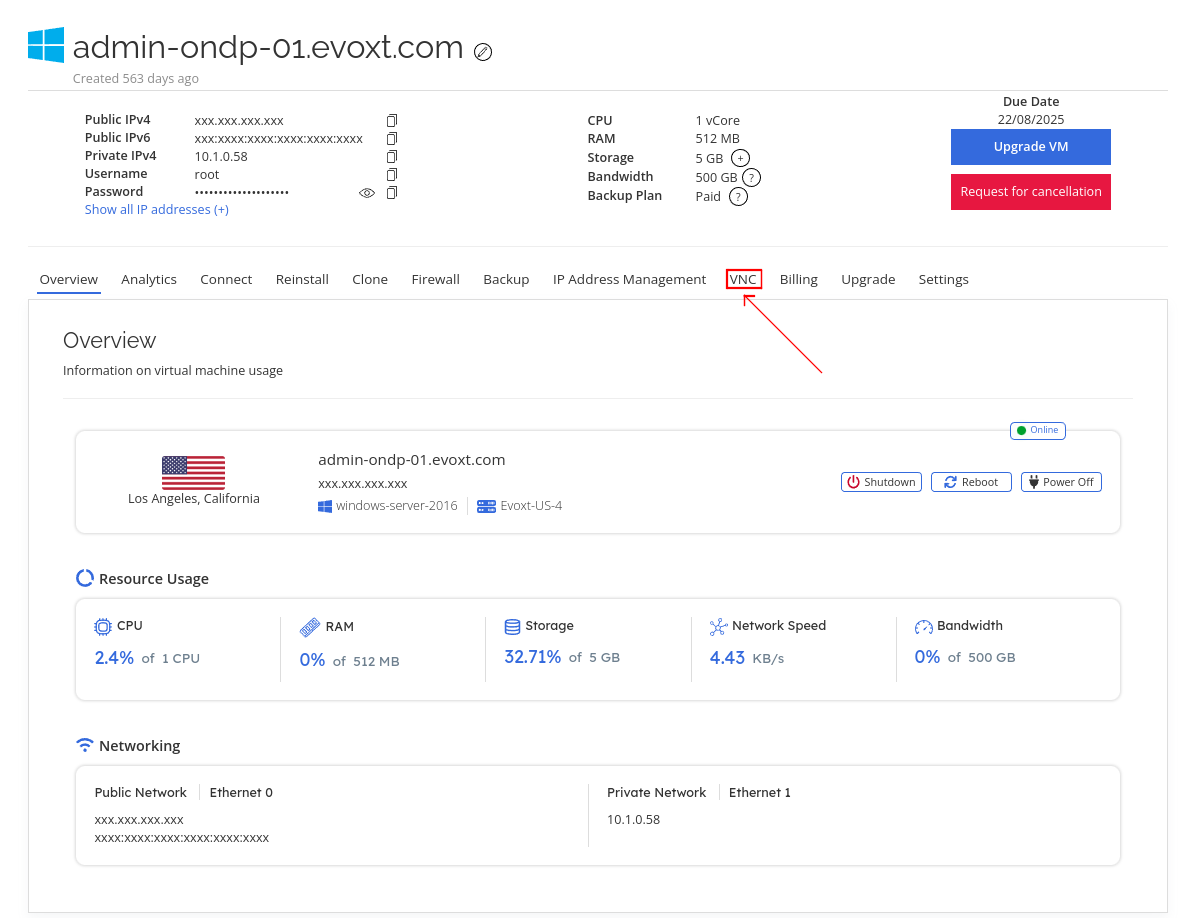
On the VM control panel page, click on VNC
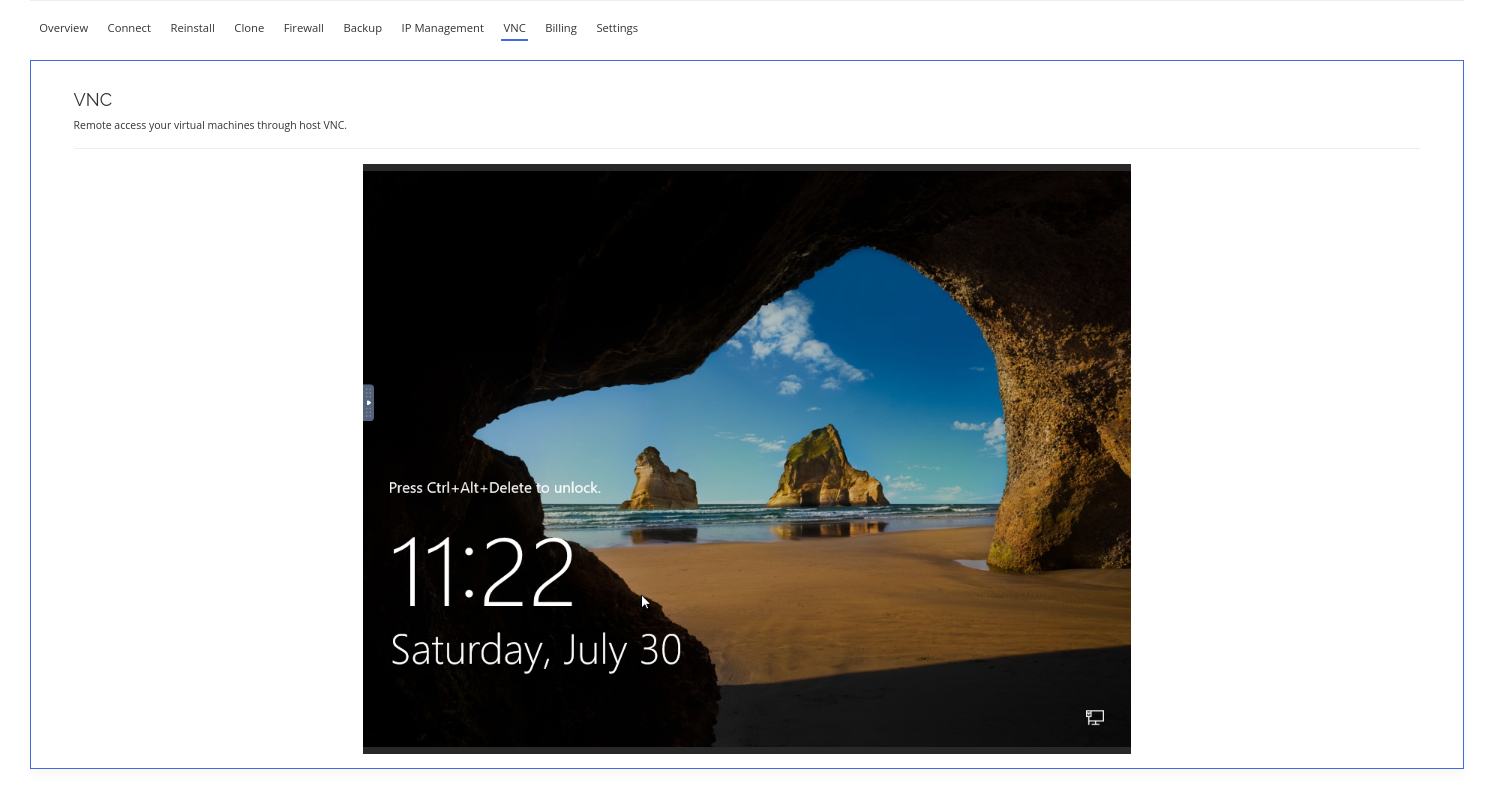
On the VNC page, click Connect VNC.

You have now established a VNC connection to your server.
Login to a Windows Server
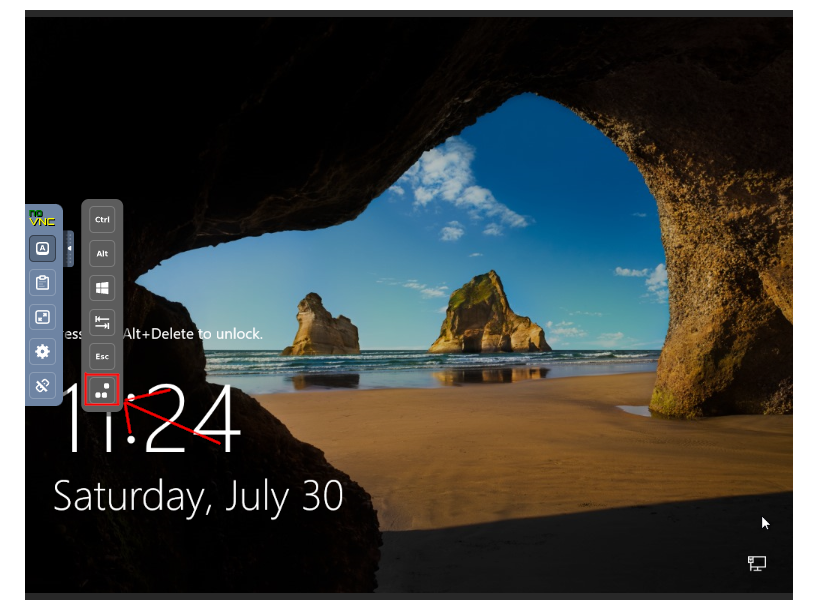
To login to your Windows server, click on the left tab and click on the expand button to input Control + Alt + Del to the login screen.
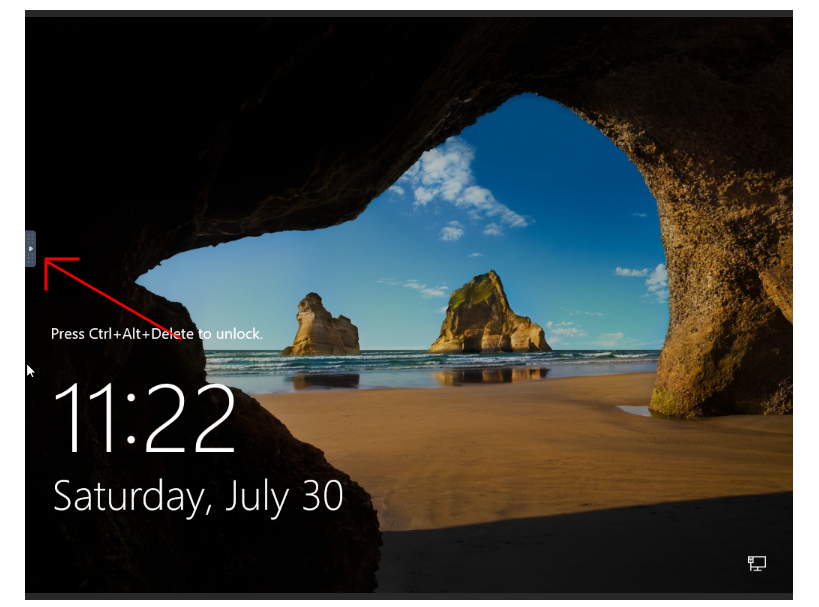
Click on Show Extra Keys
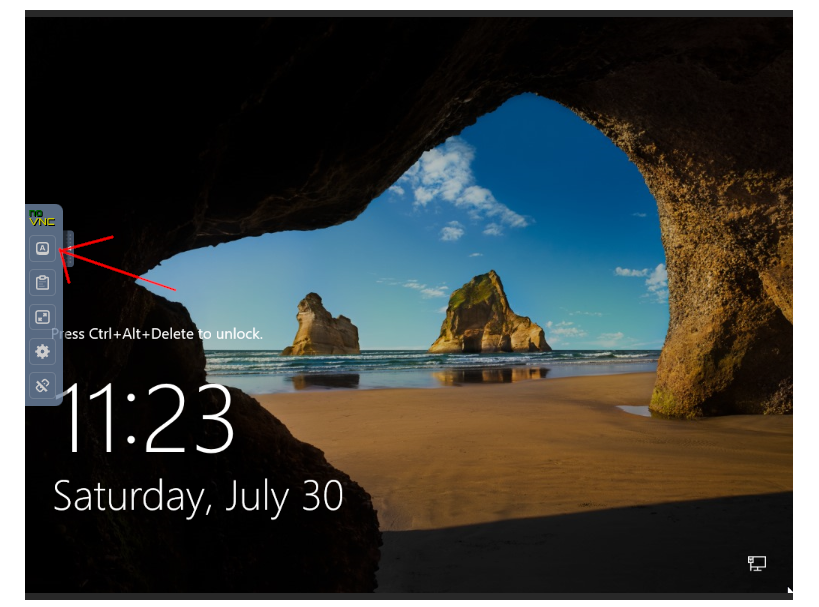
Then click on Send Ctrl-Alt-Del
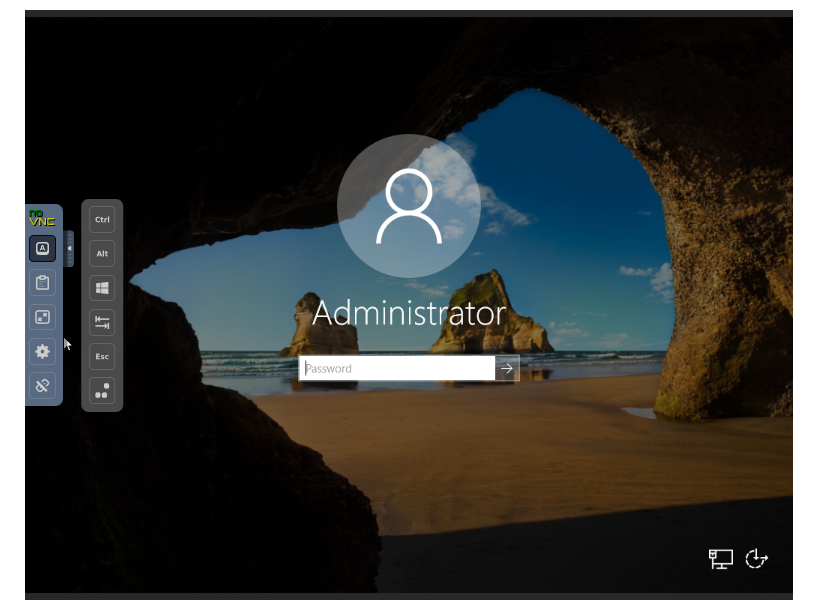
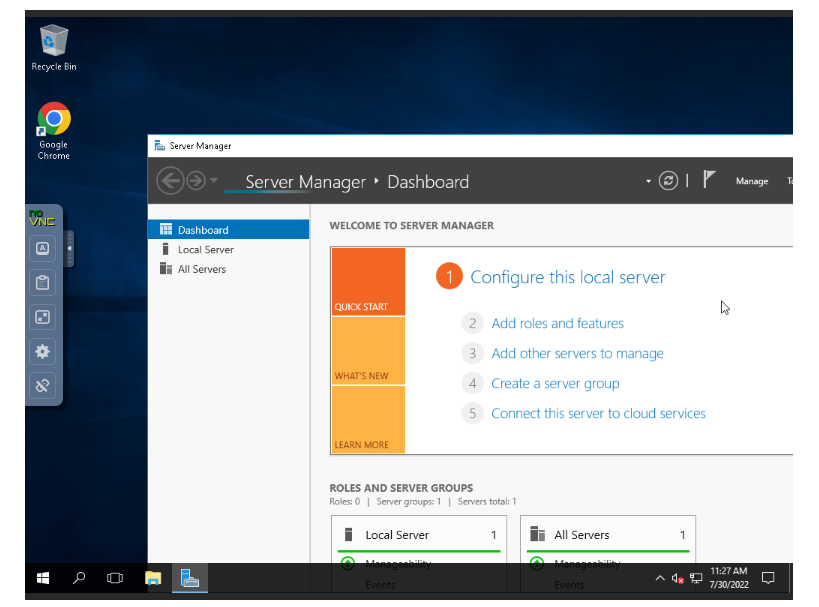
On the login screen, type in your password, and you will be logged in.
Login to a Linux based Server
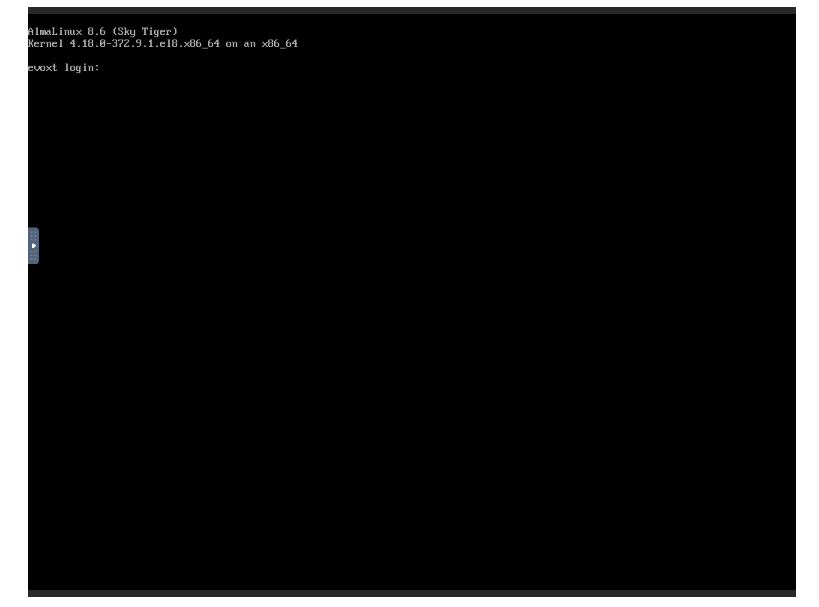
Upon successful connection, your will be prompted to key in your username and password. Once these are keyed in, you will be logged in.
Note: Using a VNC will be slower than the proprietary remote desktop protocol such as RDP/SSH because it requires connecting to another node and then to your VM, and it is not as optimized. If not needed, it is better to connect directly through RDP or SSH to get the best remote control experience.


